

The Audiences Campaign Dashboard is the control panel for testing, updating and reporting on Boingnet Audiences campaigns. From the dashboard you can manage all the elements of your campaign, including campaign events and goals, testing status, visitor and page reports, download pURLs, generate QR Codes, schedule email broadcasts and set up email notifications.
Audiences Campaign Dashboard Navigation
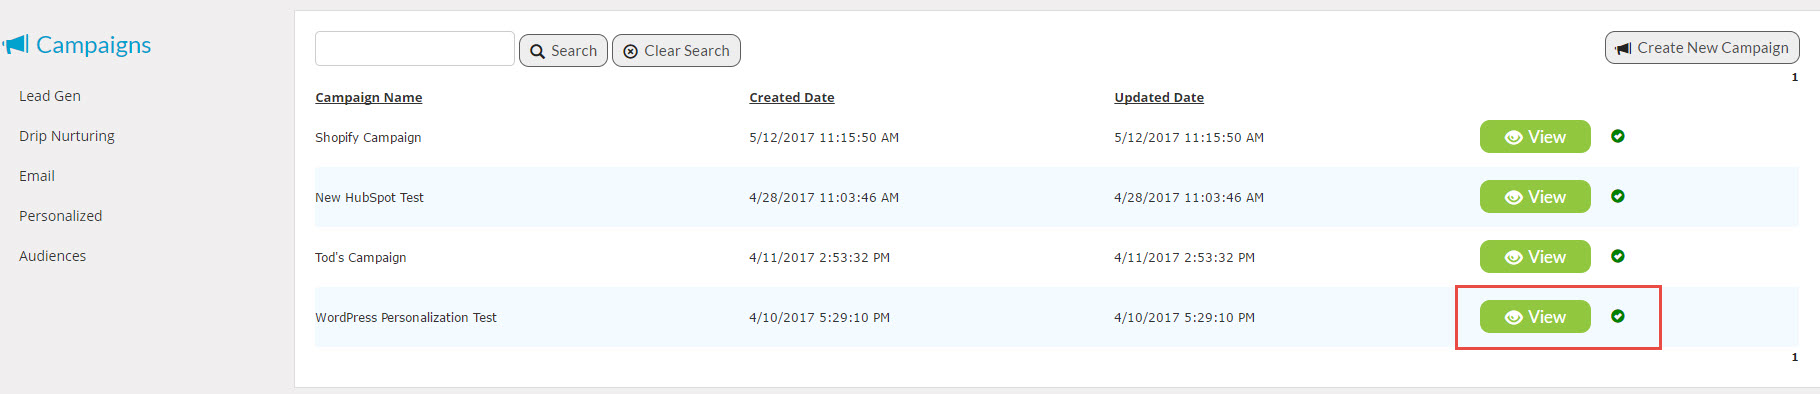
From the main navigation bar, click Campaigns, then select Audiences:

- On the Campaign Page, scroll to the campaign you wish to manage (note – each campaign’s status is indicated with a red or green icon).
- Click the View button to the right of the campaign – In the example below, we’re going to View the WordPress Personalization Test:
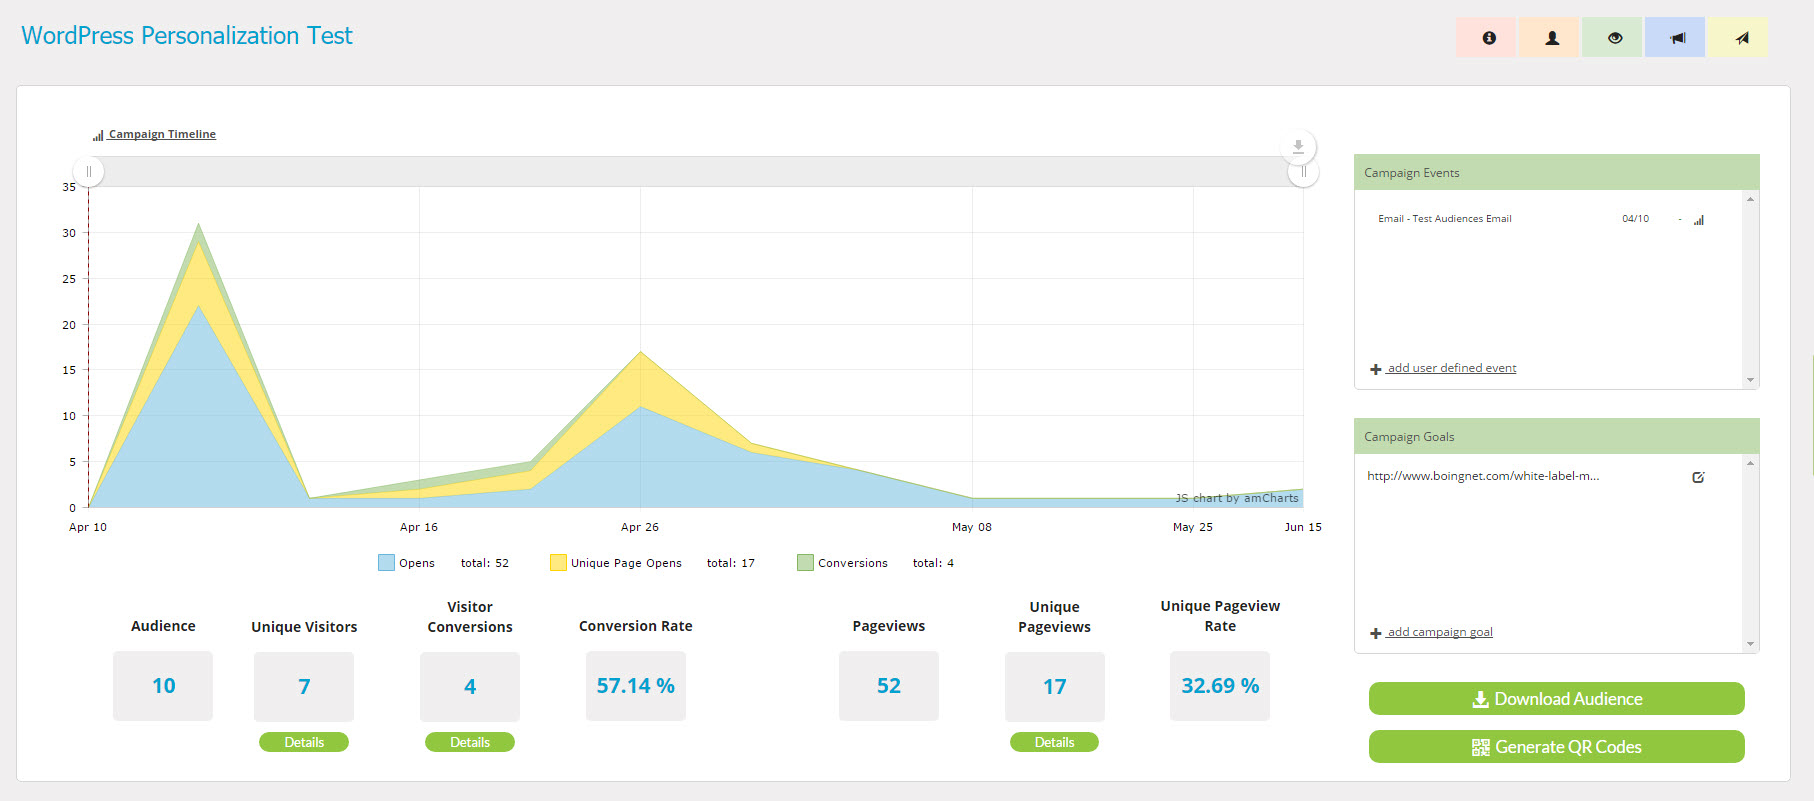
You’ll navigate to the Campaign Edit page for this campaign. At the top of the page, you’ll see an Overview chart for this campaign. You have many options presented to you in the top panel of the Audiences Campaign Dashboard:
- View the Campaign Timeline Chart.
- Add Campaign Events – such as Direct Mail Drops. Boingnet generated email sends will automatically appear.
- Add/Edit Campaign Goals – when the Goal URL(s) are visited by your targets, they’ll be counted as conversions. Control them here.
- Download Audience File & pURLs – download a .CSV file of your data list appended with the pURLs (on the far right column of the file).
- Generate QR Codes – download a .ZIP file with unique QR codes for each of your campaign targets
- View Campaign Stats – See the aggregate or detailed visitor and pageview stats
To download, print or annotate the chart with text or shapes, select the pencil icon as in the below animation:
Enhance, Download or Print Your Chart
To navigate to different sections of this page, hover over and select the desired section using the icons:
![]()
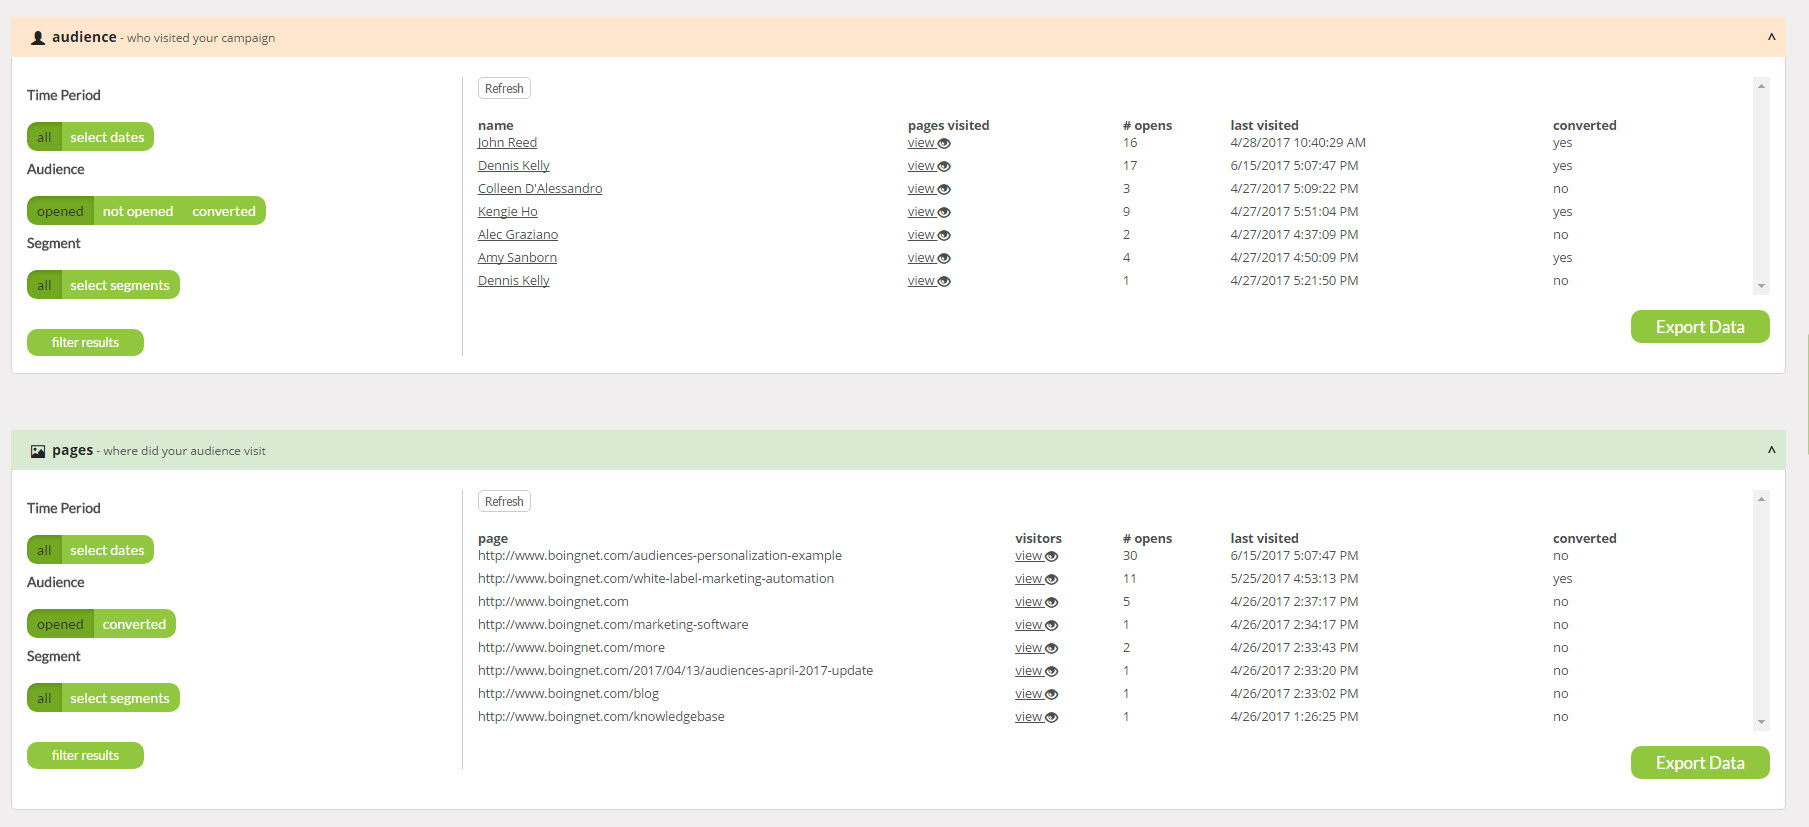
Audience Visitors and Pages Panels
These panels provide configurable views of the behavior of the targets of your Audiences campaign, both as unique targets as well as at the page level. The left side of the panel controls the display. Simply choose the segmentation you’d like to see and click “filter results” to modify the view. You can also export all of the data into a .CSV file for offline modification.
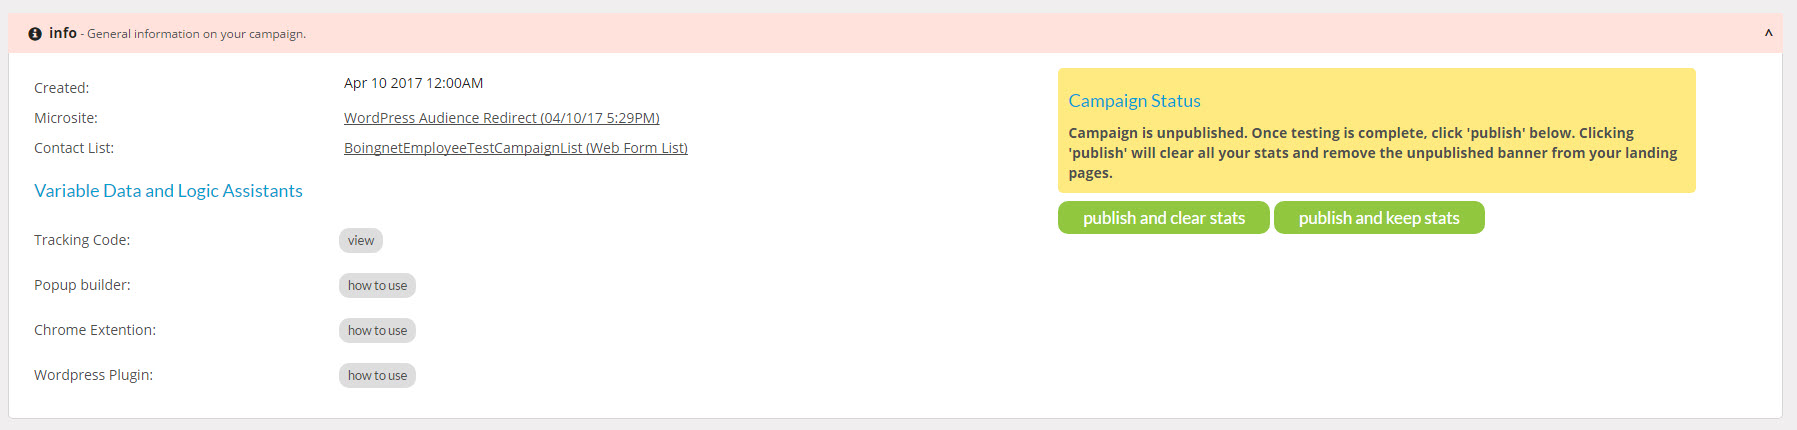
The Information Panel:
The Information has several useful tools:
- The Campaign Creation Date
- The Microsite Title – for use in modifying the campaign – see “How To Modify Your Audiences Campaign“
- The Campaign Status (below)
- Pop up tools for installing the Audiences Tracking Code and Variable Data and Logic – see “Audiences Campaign Tracking Code” and “Audiences Campaign Personalization“
Campaign’s Status is an important tool. Your campaign is either Unpublished or Published. An Unpublished status means that your campaign is in test mode. While in test mode you can test your redirect from the Boingnet server to your Starting URL, track all web pages that your users visit (that have the Boingnet Tracking Code), Goal Conversions, reports and email notifications.
Once your testing is complete and you want to publish your landing pages or make them ‘live’, click Publish. When publishing your campaign, you can choose whether or not to clear your test statistics.
Note – you can unpublish and republish your campaign as many times as you want. If you need to take your published campaign down for some brief testing, just select “Unpublish“.
The Broadcasts Panel
To Add a Broadcast Email or SMS:
Scroll down to the Broadcasts Section:
From here you can add an Email Channel or add an SMS Channel

The Notifications Panel:
Scroll down to the Email Notifications Section:
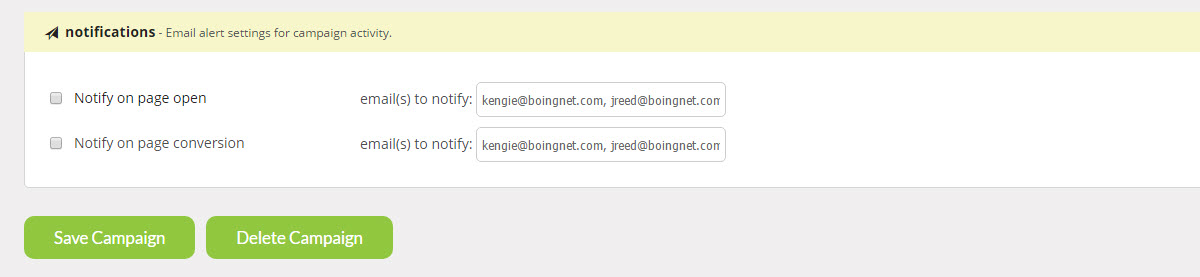
Check the box next to the type of notification you’d like to send and enter the email address in the box provided.
There are two types of notifications to select:
Notify on page Open – Checking this box will send the admin an alert when a user visits their pURL. It will only send one alert per pURL per contact so multiple hits to the same pURL do not continue to alert the admin.
Notify on page conversion – Checking this box will send the admin an alert when a user visits the “Campaign Goal” page or pages. It will only send one alert per pURL per goal so multiple hits to the same pURL do not continue to alert the admin.
Note – you can reset your Alerts by publishing your campaign and choosing the “clear stats” option. This will clear all campaign stats.
You can enter multiple email addresses to receive each type of notification by separating each email address with a comma.
Remember to click Save Campaign Effort to save any changes you have entered. If you’d like to delete your campaign, you can do so here as well.
Contact Our Support Forums for Help
We are perpetually seeking to evolve our product as well as our support process. If you didn't find your answer here take a moment to visit our support forums as well as submit your ideas on how we can bring Boingnet to the next level!
Support Forums