

Whenever you create a microsite with multiple landing pages, you’ll want a way to link those pages together. For example, you may want to have a ‘Next’ button that links each page to the next page in the microsite. In the example below, we’ve linked Page01 and Page02 of a survey microsite together with a Next button. Please note that the instructions vary a bit depending upon whether you are creating a pURL (Personalized Campaign) with your microsite, or a general URL (Lead Generation Campaign) with your microsite.
To Link pURL Microsite Pages Together:
To link pages together for a pURL Microsite – follow these steps:
- Step 1: Add Link Buttons on each page to link to the next page using the %pURL%/Friendly URL format.
- Step 2: Make sure to add all your pages to your Microsite. As you add each page, make sure that the Friendly URL for that page on your Microsite matches the pURL link you define in your page template.
Step 1: Add the Link Button to your microsite’s first page:
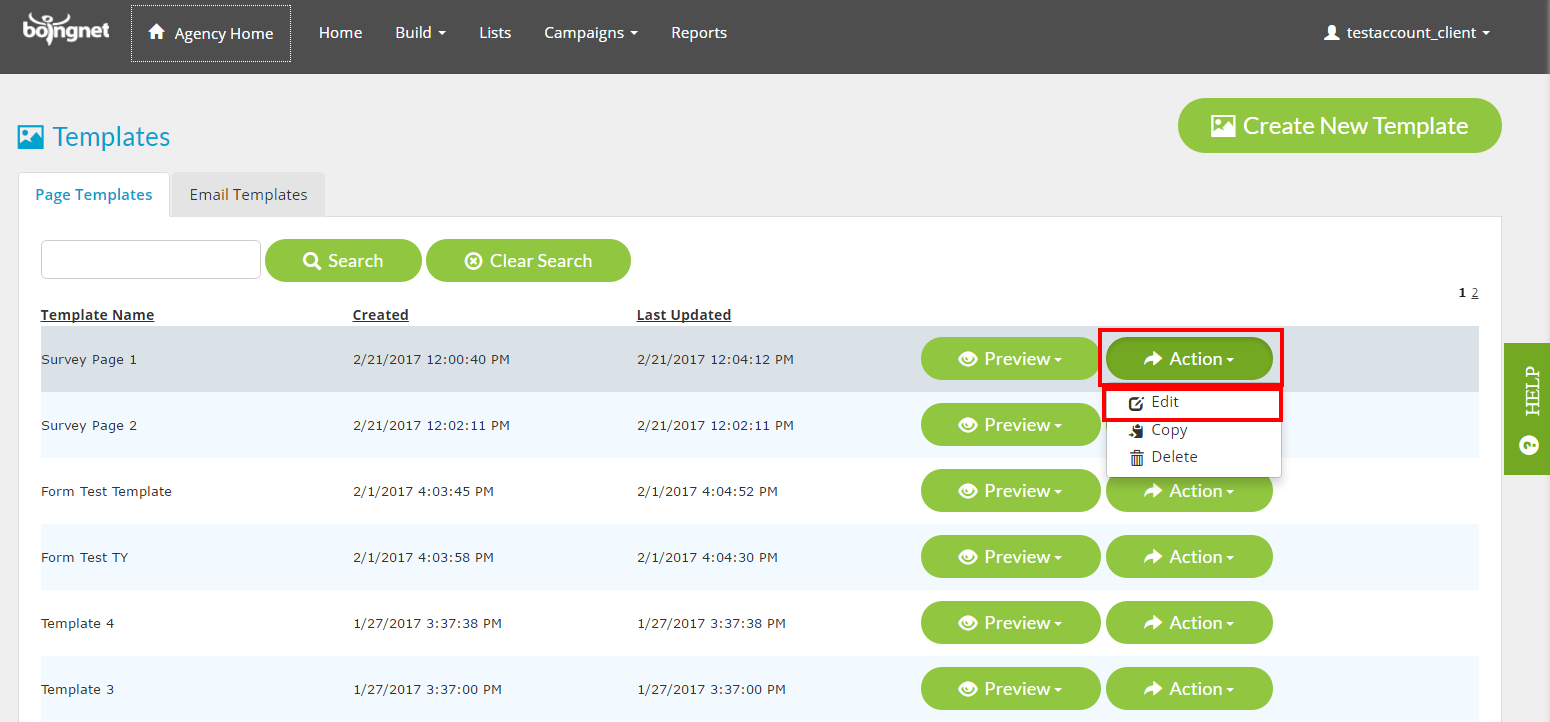
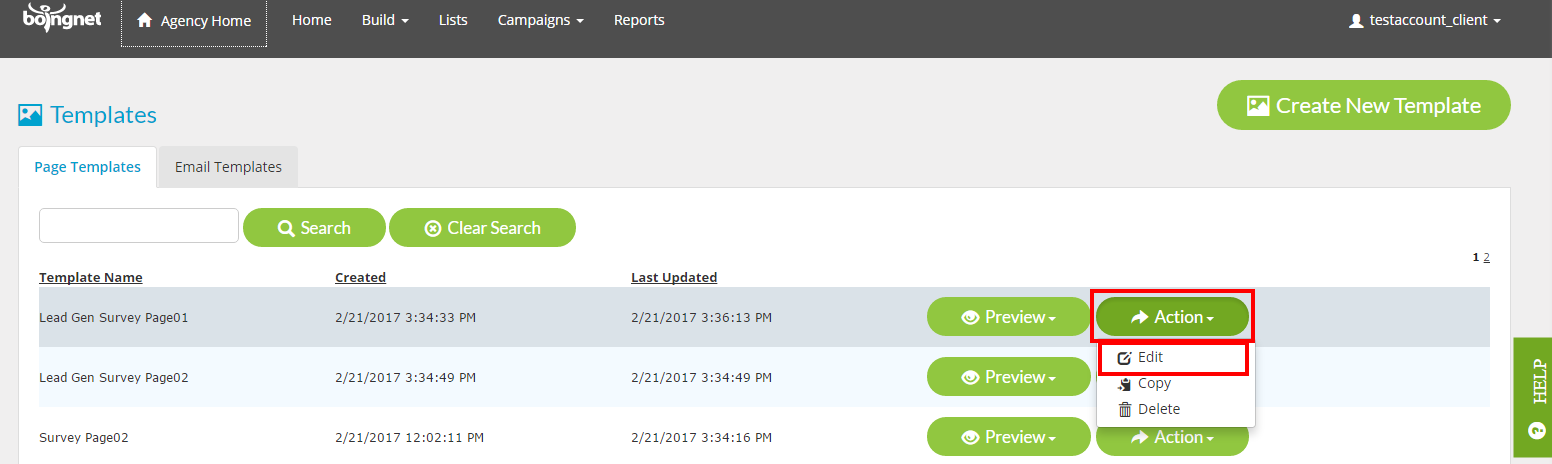
Edit your page template by clicking the Action button and then selecting Edit:
To add the link button to your template:
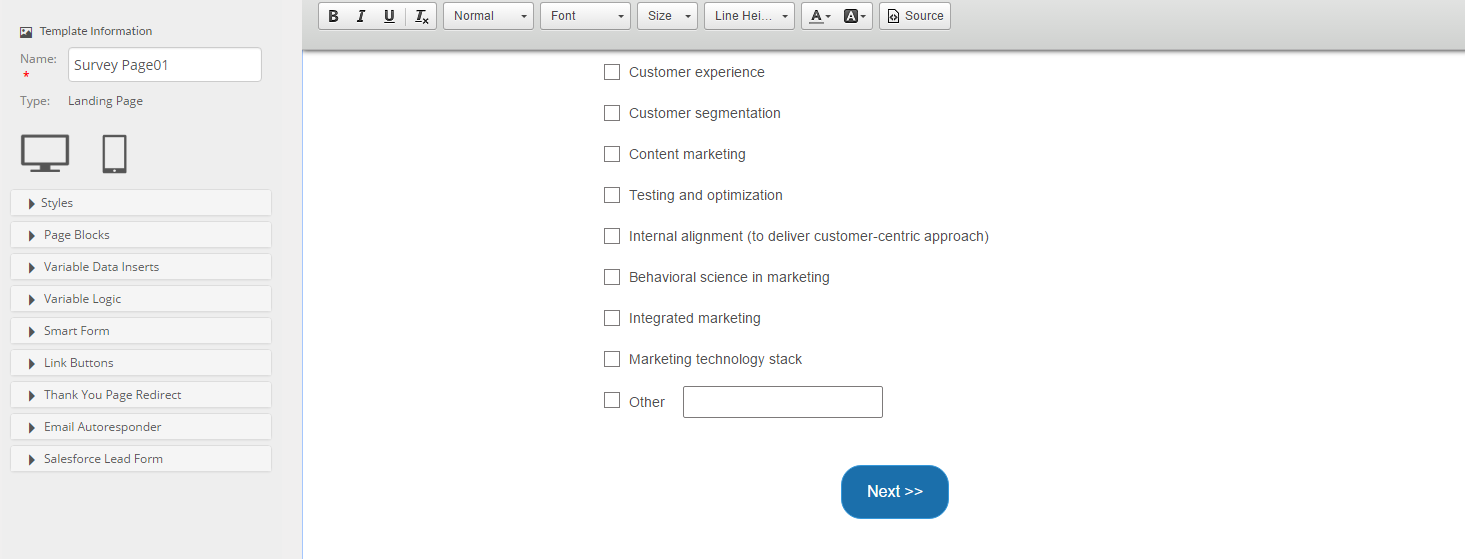
- Place your cursor where you’d like to insert your link button
- On the sidebar, select the Link Button option:
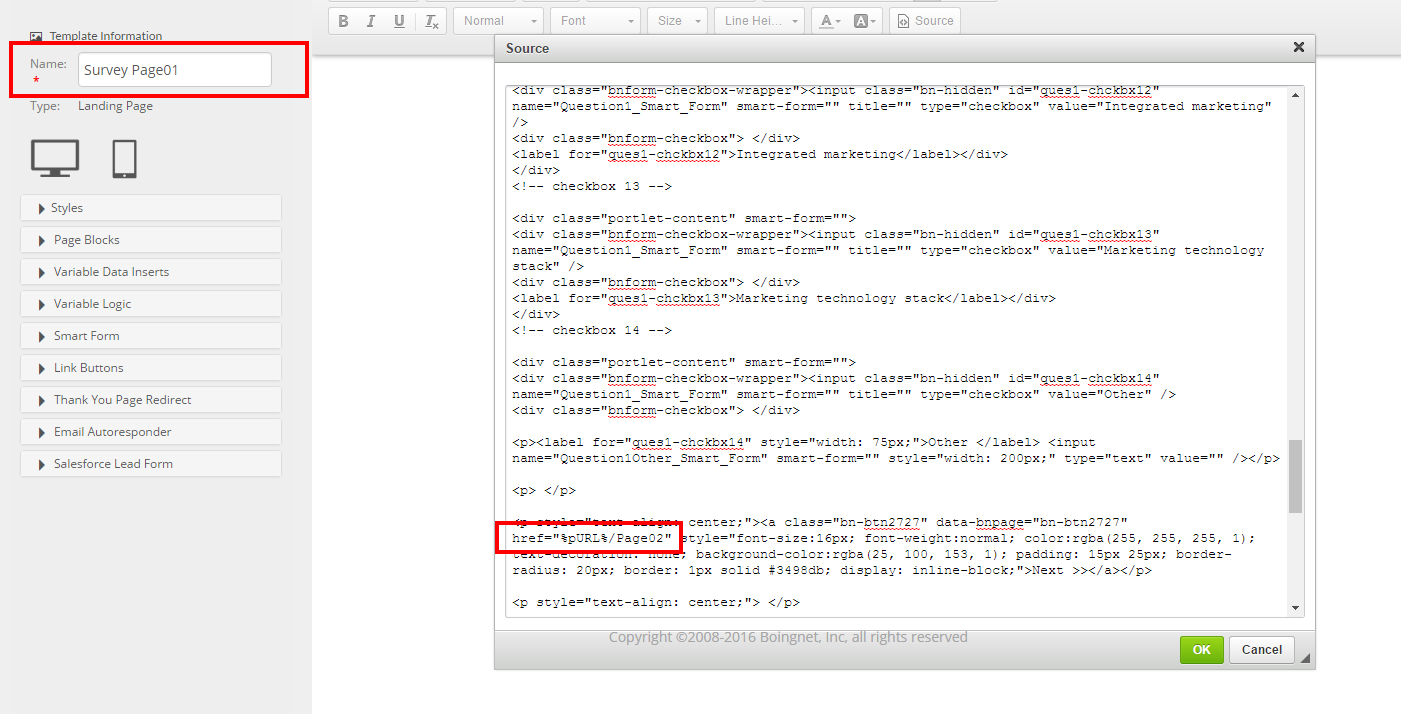
In this example, we’re going to create a ‘Next’ link button to navigate to the next page of the microsite. Since we’re editing Page01, the Next button will link to Page02:

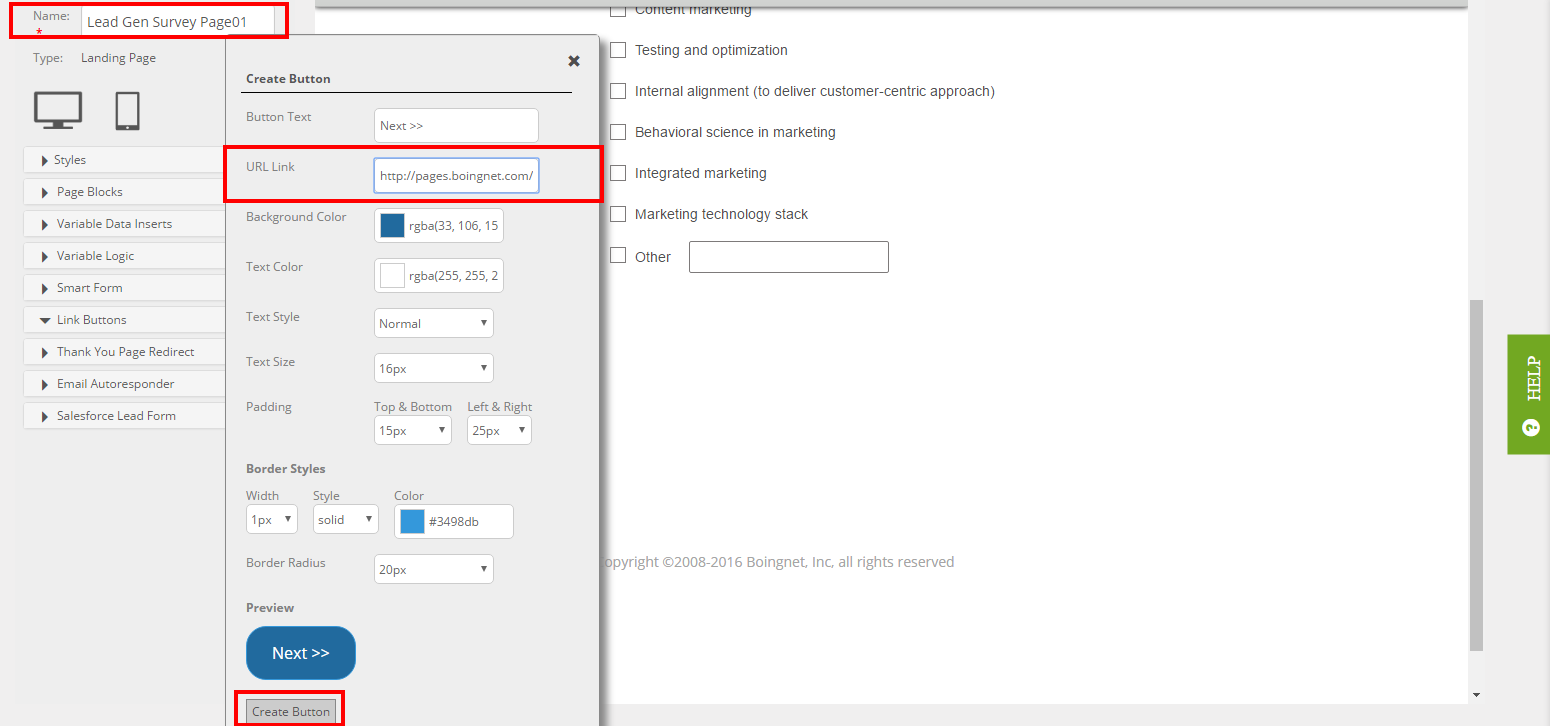
Enter the following:
- Button Text – In this example, we’ve entered ‘Next >>‘
- URL Link – We’ve entered “%pURL%/Page02” because this is a pURL Microsite. We’ll need to make sure we define ‘Page02’ as the Friendly URL for Page02 on our microsite:
To continue:
- Background Color – Select a background color for your button by clicking on the blue box. When the color-picker appears, select a color from the right side of the box and a shade from the left side of the box.
- Text Color – Select a text color by selecting a color and a shade from the color-picker.
- Text Style – Select Normal or Bold from the dropdown menu.
- Text Size – Select the text size from the dropdown menu.
- Padding – Select the padding for the top and bottom ,and for the right and left sides of the button from the dropdown menus.
- Border – If you’d like to define a border for your link button, define the width, style and color from the selections under Border Styles.
- Border Radius – If you’d like your button to have rounded corners, make your selection from the dropdown menu.
You’ll get a Preview of what your link button will look like and you can make adjustments if needed. When finished, click Create Button and your link button will be inserted into your template:
Step 2: Add Your Pages to Your Microsite:
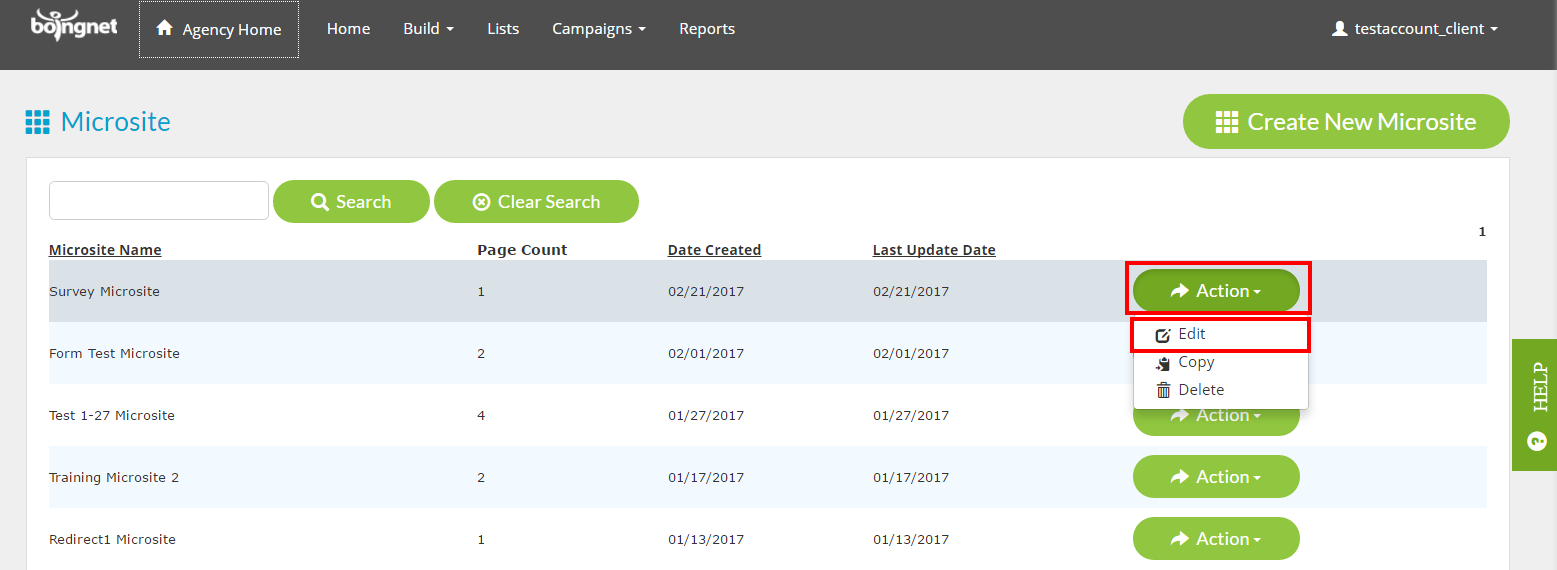
Edit your microsite by clicking the Action button and then selecting Edit:
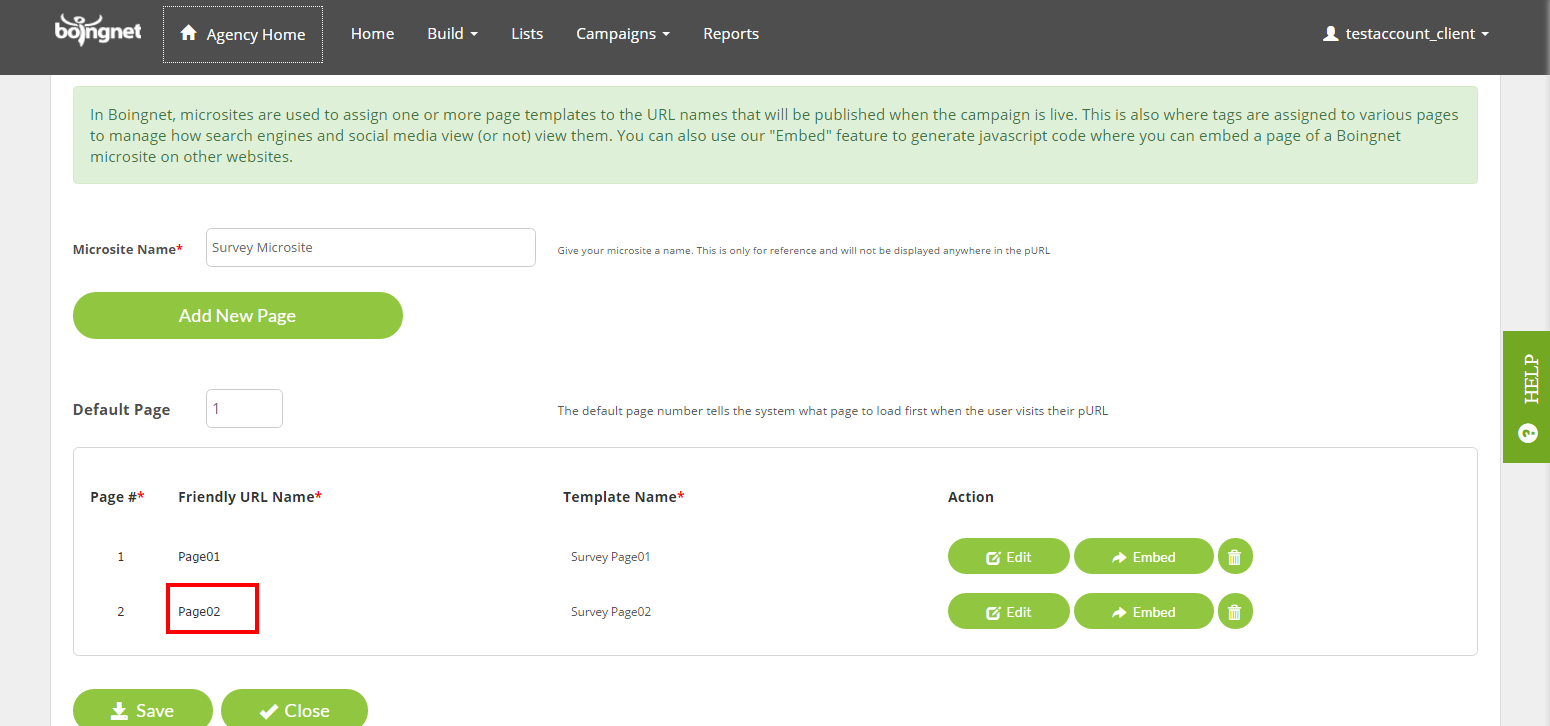
Add all the pages to be used in your pURL Campaign making sure that the Friendly URL you define matches the URL you defined for the button link in your template:
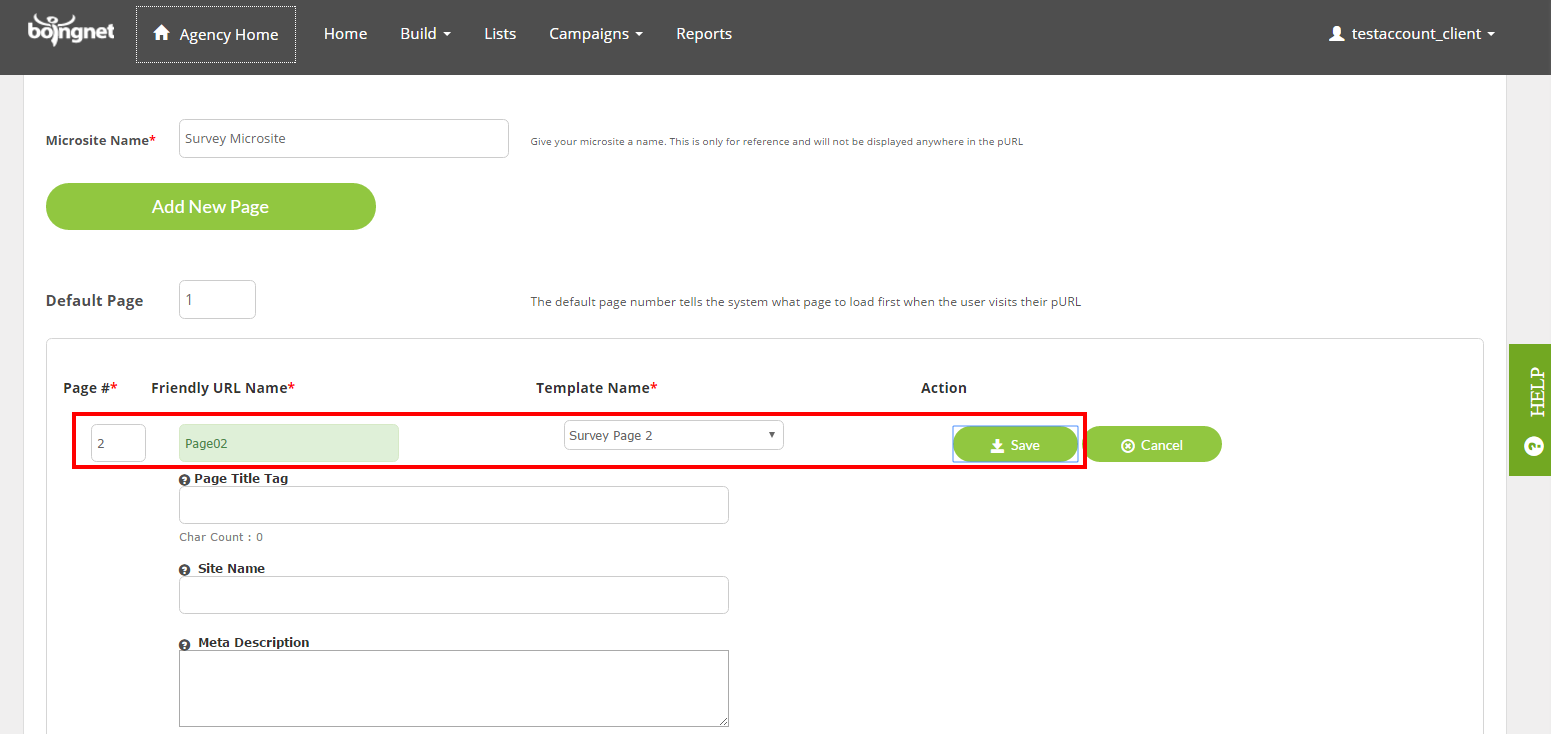
In the example above, we’ve used ‘Page02‘ as the Friendly URL because the “Next” button link in our Page01 template is “%pURL%/Page02” – so the system will know to link to Page02 when the Next button is clicked:
To Link Lead Generation Microsite Pages Together:
To link pages together for a Lead Generation Microsite – you must define the full URL when you create your link button:
- Step 1: Add Link Buttons on each page to link to the next page using the full URL format.
- Step 2: Make sure to add all your pages to your Microsite. As you add each page, make sure that the Friendly URL for that page on your Microsite matches the link you define in your page template.
Step 1: Add the Link Button to your microsite’s first page:
Edit your page template by clicking the Action button and then selecting Edit:
To add the link button to your template:
- Place your cursor where you’d like to insert your link button
- On the sidebar, select the Link Button option:
In this example, we’re going to create a ‘Next’ link button to navigate to the next page of the microsite. Since we’re editing Page01, the Next button will link to Page02. Because these pages will be used in a Lead Generation campaign, using a non-personalized URL, we’ll add the full URL to the Link Button. It may be easiest to create the Lead Generation Campaign URLs first, and then copy the correct full URL from the campaign dashboard when adding the link button:
Copy the full URL of the page you want your template to link to from the campaign dashboard:
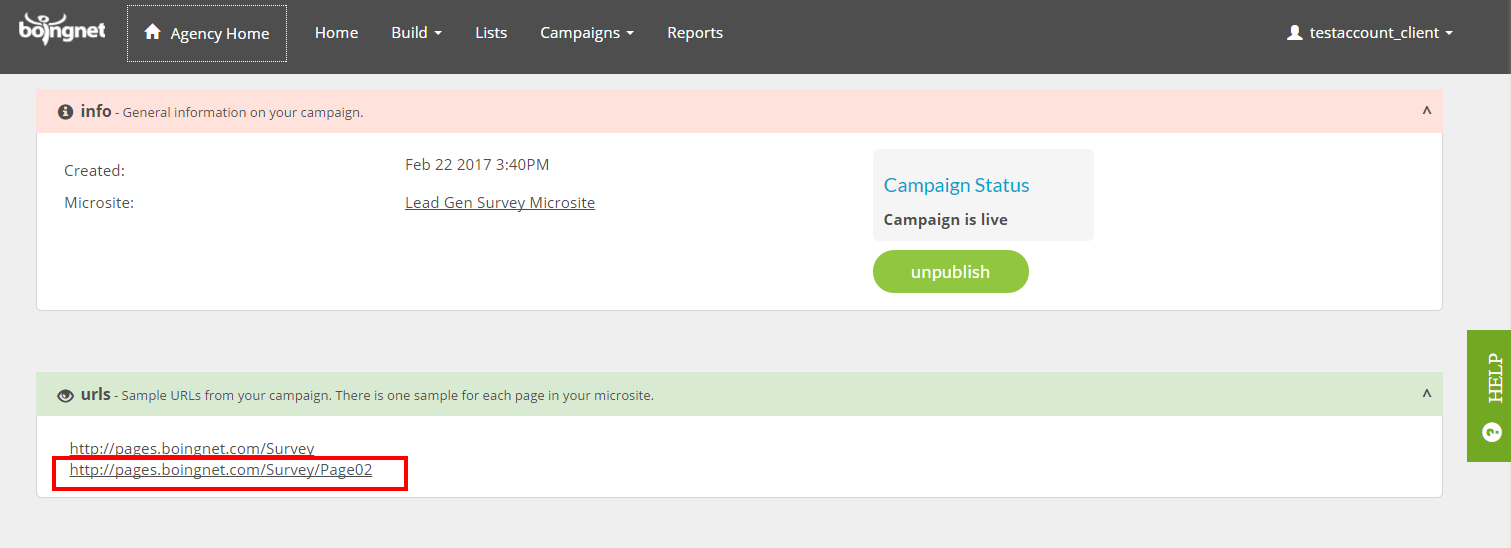
And paste into the URL Link for your link button:
Click Create Button and your link button will be inserted into your template:
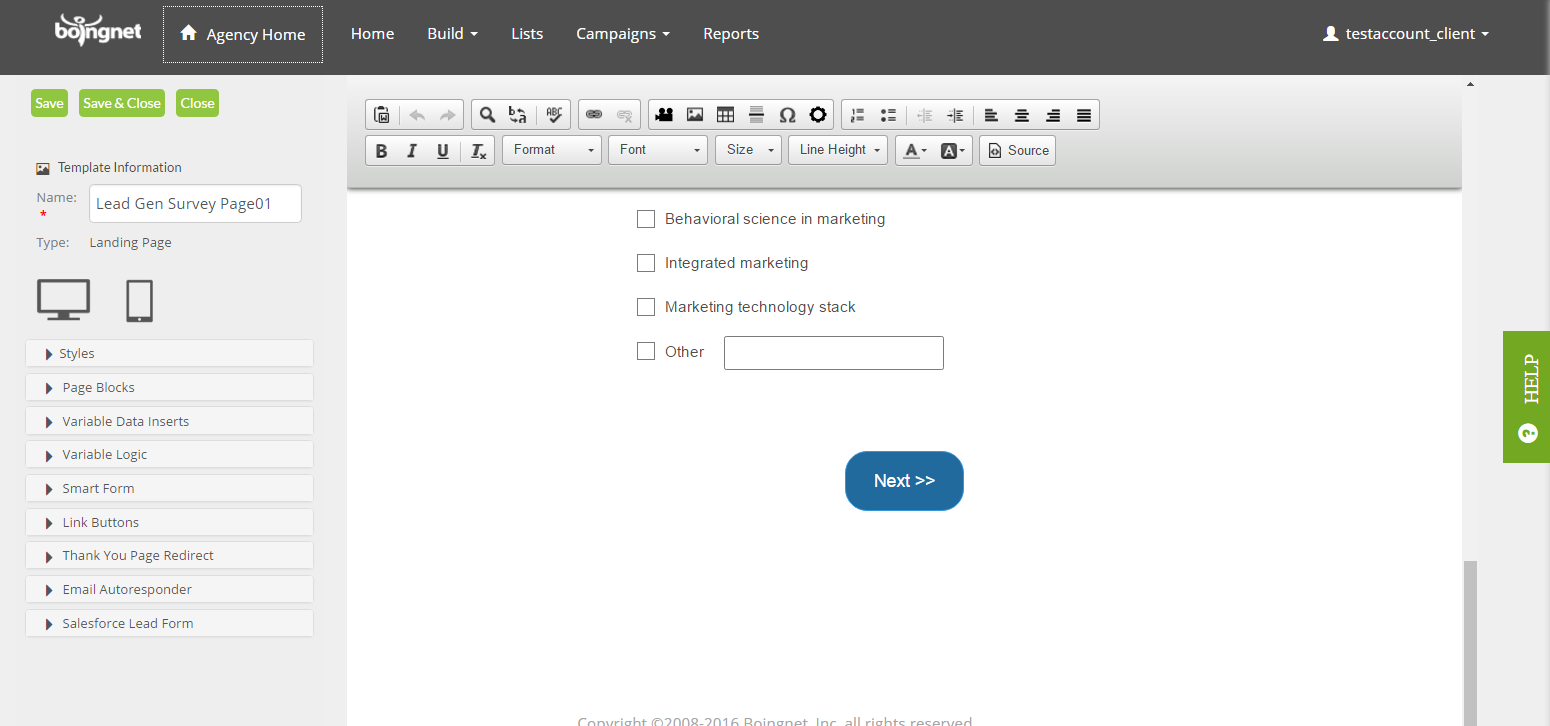
Remember to Save your template when done editing.
Contact Our Support Forums for Help
We are perpetually seeking to evolve our product as well as our support process. If you didn't find your answer here take a moment to visit our support forums as well as submit your ideas on how we can bring Boingnet to the next level!
Support Forums