

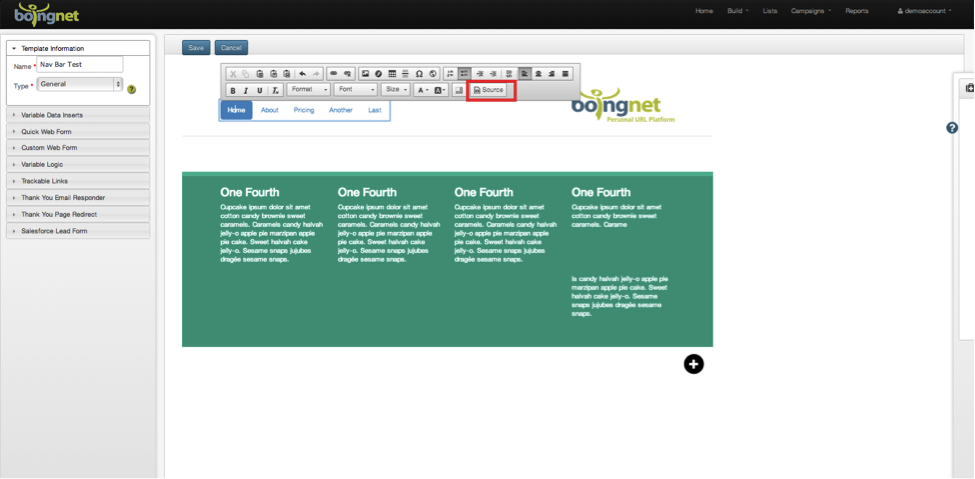
To add a new button to the navigation bar that appears at the top of your template:
- Edit the Template.
- Select any link on the navigation bar.
- Click the Source button on the toolbar to reveal the template’s HTML.
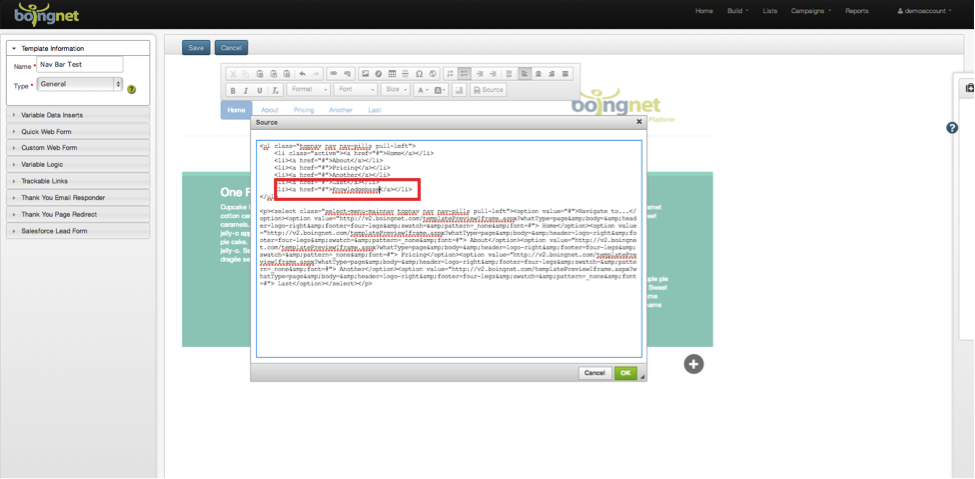
In the source, find the following code:
<ul-class=”topnav nav na-pills”>
To add another button labeled “Knowledgebase” on your navigation bar, copy and paste the last line of that paragraph as follows:

Once you have pasted the new line of HTML, change the copied name, in this case, <Last>, to the name of the new button you want to add, in this case, <Knowledgebase>:
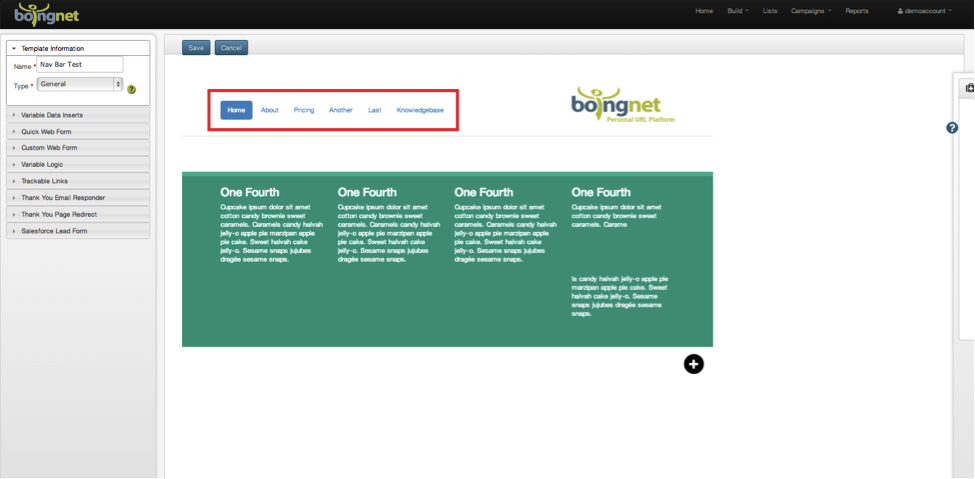
Click the green OK button to save your changes. The new navigation button will now appear in your template, but it won’t be linked to anything yet:
To link your new navigation button to the appropriate resource, follow the steps to add a link:
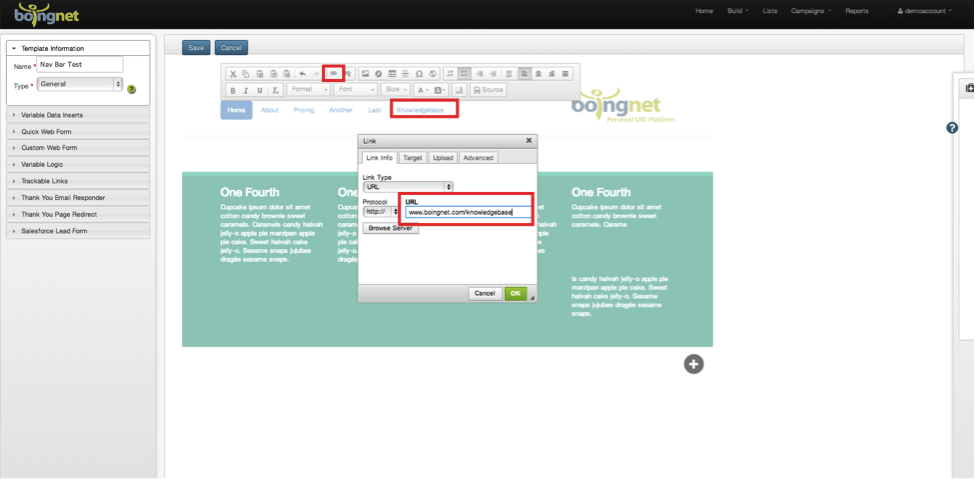
- Highlight the new button.
- Click the link icon on the toolbar.
- In the box that appears, enter the URL of the page you want to link this button to, in this case:
- www.boingnet.com/knowledgebase
- Click the green OK button.
Your new navigation button is now linked to the URL you specified.
Click Save when you are done editing your template.
Contact Our Support Forums for Help
We are perpetually seeking to evolve our product as well as our support process. If you didn't find your answer here take a moment to visit our support forums as well as submit your ideas on how we can bring Boingnet to the next level!
Support Forums