

There are a number of ways to insert images in Boingnet, and most of them are covered in the above video. The easiest way to insert an image is by using the toolbar that appears automatically on the Template Edit Page:
- Once you are editing your template, click on the area in which you’d like to add your image.
- Click the image button on the toolbar and the Image Properties dialog window will open to let you define configuration options for the image source, size, display properties and other advanced properties.
- If you have uploaded your image into your account’s Asset Manager, then click Browse Server.
- Double-click on the image you wish to display, and then click the green OK button to insert it.
If you already know the name of the image you’d like to select, you don’t need to browse the Asset Manager, you can just enter the URL of your image in the URL box:
http://v2.boingnet.com/userfiles/accountname/image/imagename
So, if your account name = demoaccount and your image name = bark-square.png then the URL is:
http://v2.boingnet.com/userfiles/demoaccount/image/bark-square.png
For more advanced solutions:
Image Info Tab:
The Image Info Tab allows you to set the image URL and configure the way it will appear on your landing page. Please note that your image name must not contain any spaces, use underscores or dashes instead. Some ESPs (Email Service Providers) will not display images with names that contain spaces.
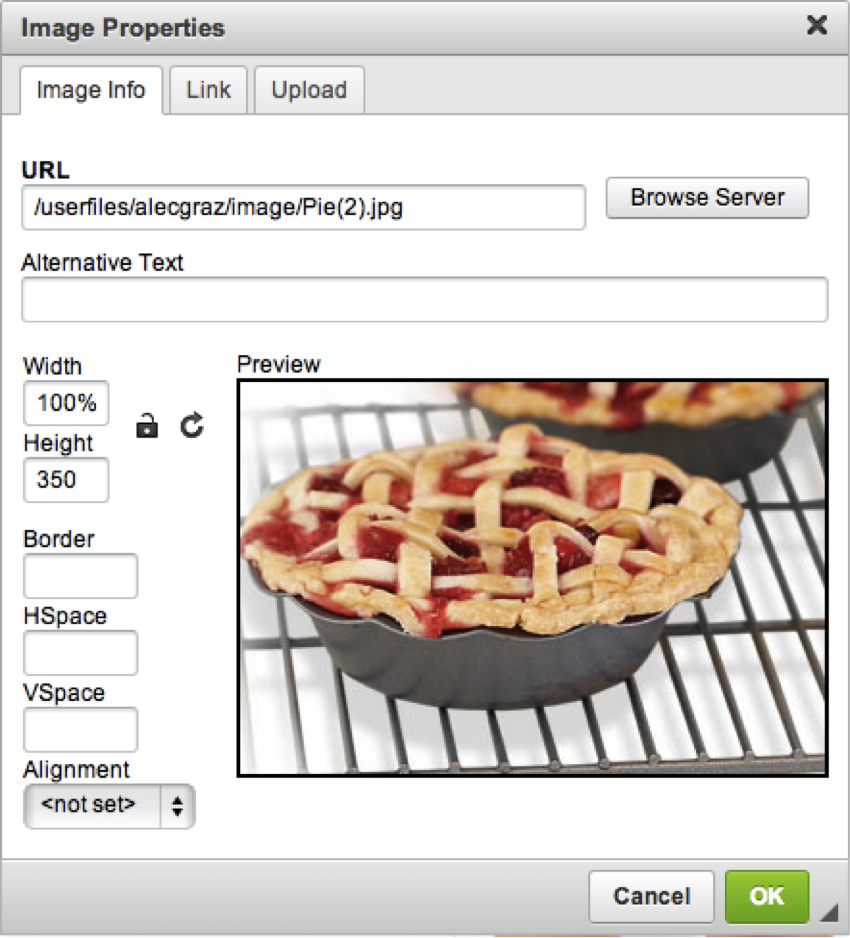
URL: Enter the web address of the image. The image may be located on the same server as the web site you are currently in or on an external server.
You can also use the Browse Server button to select an image from the ones available on the server.
Width: The width of the image in pixels. By default, this is the size of the original image.
Height: The height of the image in pixels. By default this is the height of the original image.
Border: The size of the solid border around the image in pixels.
HSpace: The horizontal spacing or margin between the image border (if present) or the image itself and other document elements that surround the image, in pixels.
VSpace: The vertical spacing or margin between the image border (if present) or the image itself and other document elements that surround the image, in pixels.
Align: The alignment of the image in the document. Available options are Right and Left.
Preview: A preliminary view of the selected image formatted according to the options chosen of the left.
Image Manipulation: If the image is too large, you can alter its dimensions by entering new values into the Width and Height fields. By default the image ratio is locked. This means that when you change one of the size values (width or height), the other one will be adjusted automatically.
If you want to modify both dimensions, click the lock button to unlock the ratio. Now the modification of one dimension will not cause the other to automatically adjust. To lock the image ratio again, click the lock button again.
You can easily return to the original image size by pressing the refresh button. This will reset the image size to the original width and height.
Link Tab:
The Link Tab lets you assign a link to an image inserted into the template, effectively converting the image into a clickable link. The link can point to any kind of object available on the Internet, like a simple URL address, a PDF document or an online video. This might prove useful, if for example, you want to add a company logo to point to its website.

To use the link functionality, first you need to insert an image into your template using the Image Info Tab. After you configure the display options, switch to the Link Tab and configure the image target using the available options.
URL: The web address that the image should be pointing to – this may be a plain website address, an image, or other file that is located on the same server as the website you are currently on, or an external server.
Target: The window where the assigned link will open after clicking the image. You can choose between New Window (_blank), Topmost Window (_Top), Same Window (_self), or Parent Window (_parent).
Upload:
The Upload Tab of the Image Properties dialog window allows you to send your own images to the server. It is only visible if the server accepts files uploaded by the user.
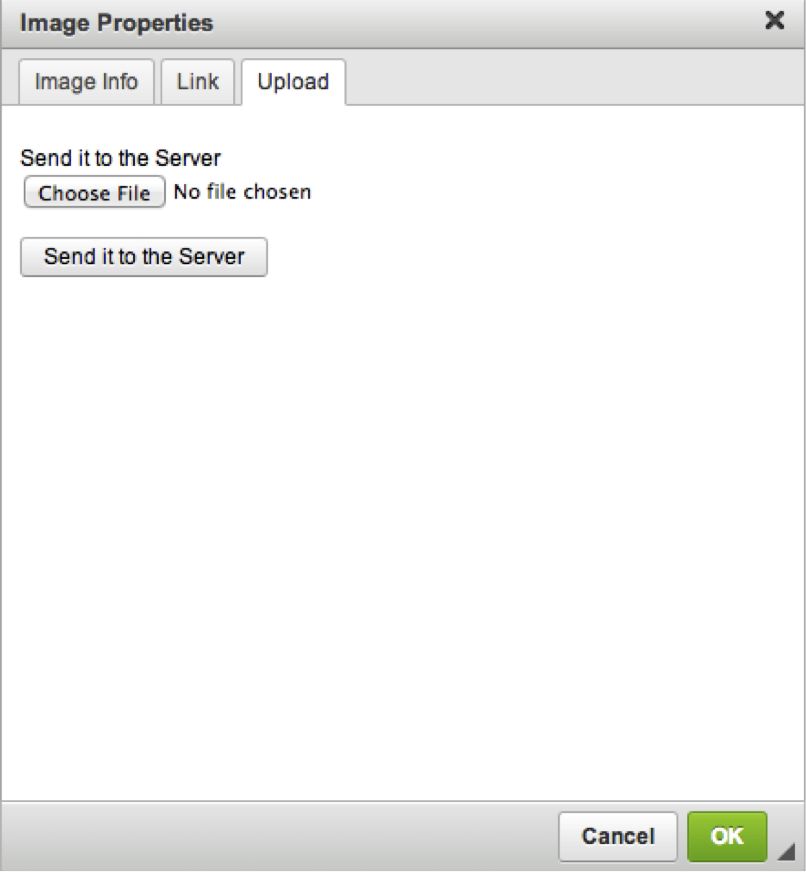
To upload an image file, click the file input field of the Browse button next to it. When the file browser of your operating system opens, navigate to an appropriate folder and choose a file by double clicking it or using the Open button. To send the file to the server, click the Send it to the Server button.
Click the green OK button to insert image into the shaded area of your template.
Click Save in the upper right corner when you are done editing your template.
To learn more about using the Boingnet Asset Library to manage your images and creative assets, visit Explore the Asset Manager.
Contact Our Support Forums for Help
We are perpetually seeking to evolve our product as well as our support process. If you didn't find your answer here take a moment to visit our support forums as well as submit your ideas on how we can bring Boingnet to the next level!
Support Forums