

Adding campaign channels is an easy way to extend the reach of your campaign without duplicating campaign resources. Instead of creating several different campaigns using the same list and sending an email through all of them, you can simply send several email blasts by adding channels to an already existing campaign.
Follow these directions to create a campaign channel:
- Navigate to the Campaigns Page by clicking Campaigns on the top navigation bar.
- Next, select the type of campaign you’d like to edit – Lead Generation or Personalized campaign.
- On the campaigns page, click the Action button to the right of the campaign you’d like to edit and then select Edit.
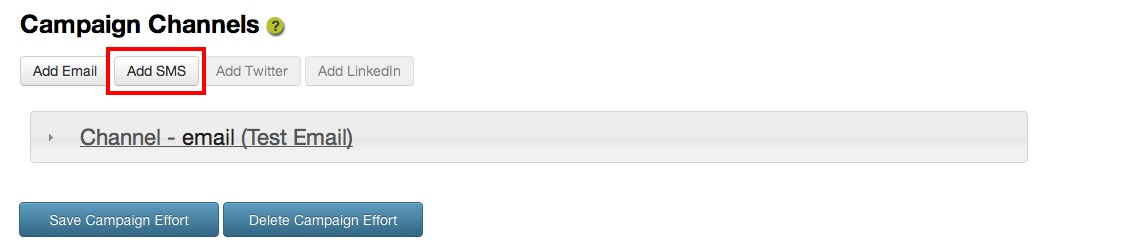
- Scroll down until you see the Campaign Channels section:
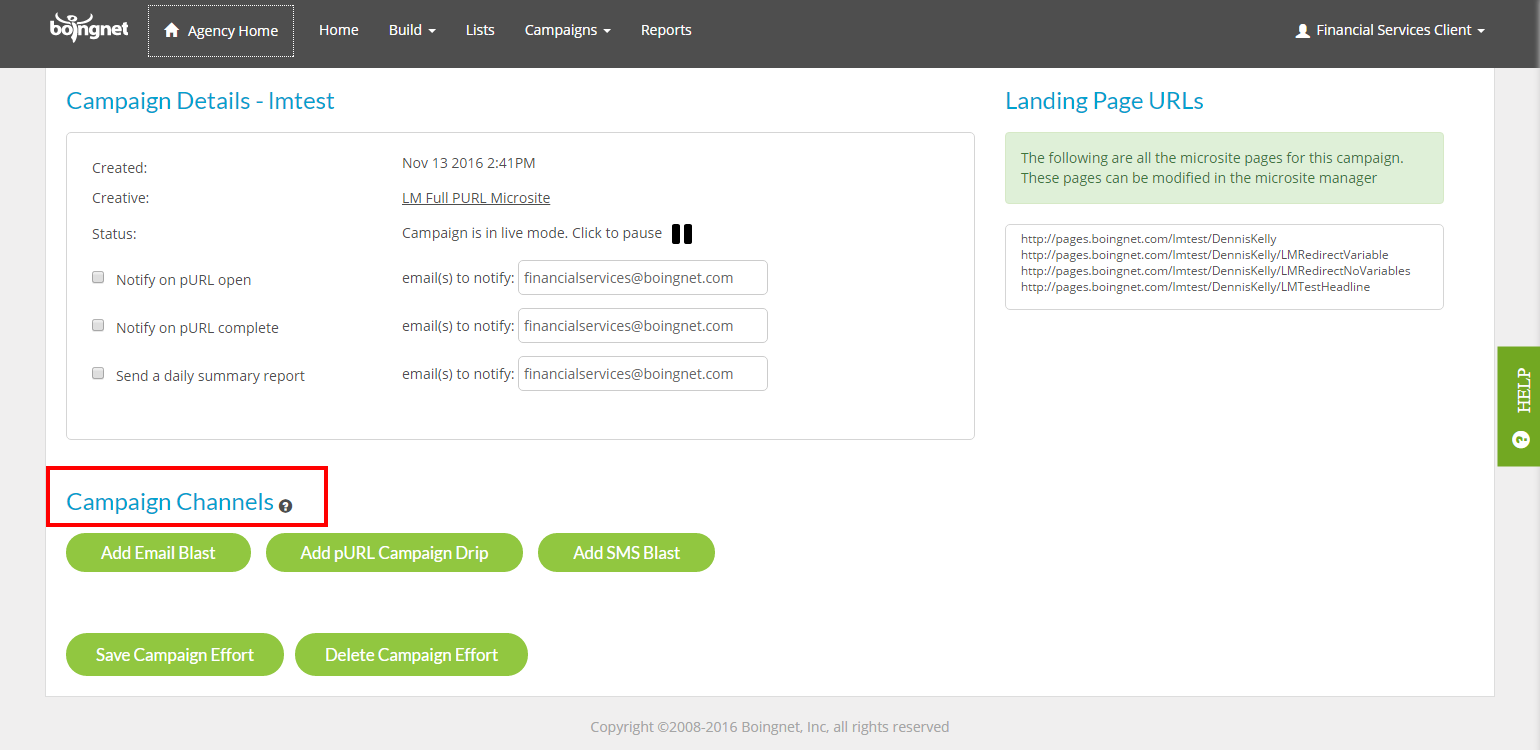
Boingnet allows you to add two types of channels – Email and SMS, and depending on what you are trying to achieve for your campaign one may be more relevant than the other.
To add a campaign channel simply click either Add Email to add an email channel, or Add SMS to add an SMS channel.
Add an Email Channel
- To add an email channel click the Add Email button.
- On the email channel page you will be able to fill out all of the relevant email channel campaign information:
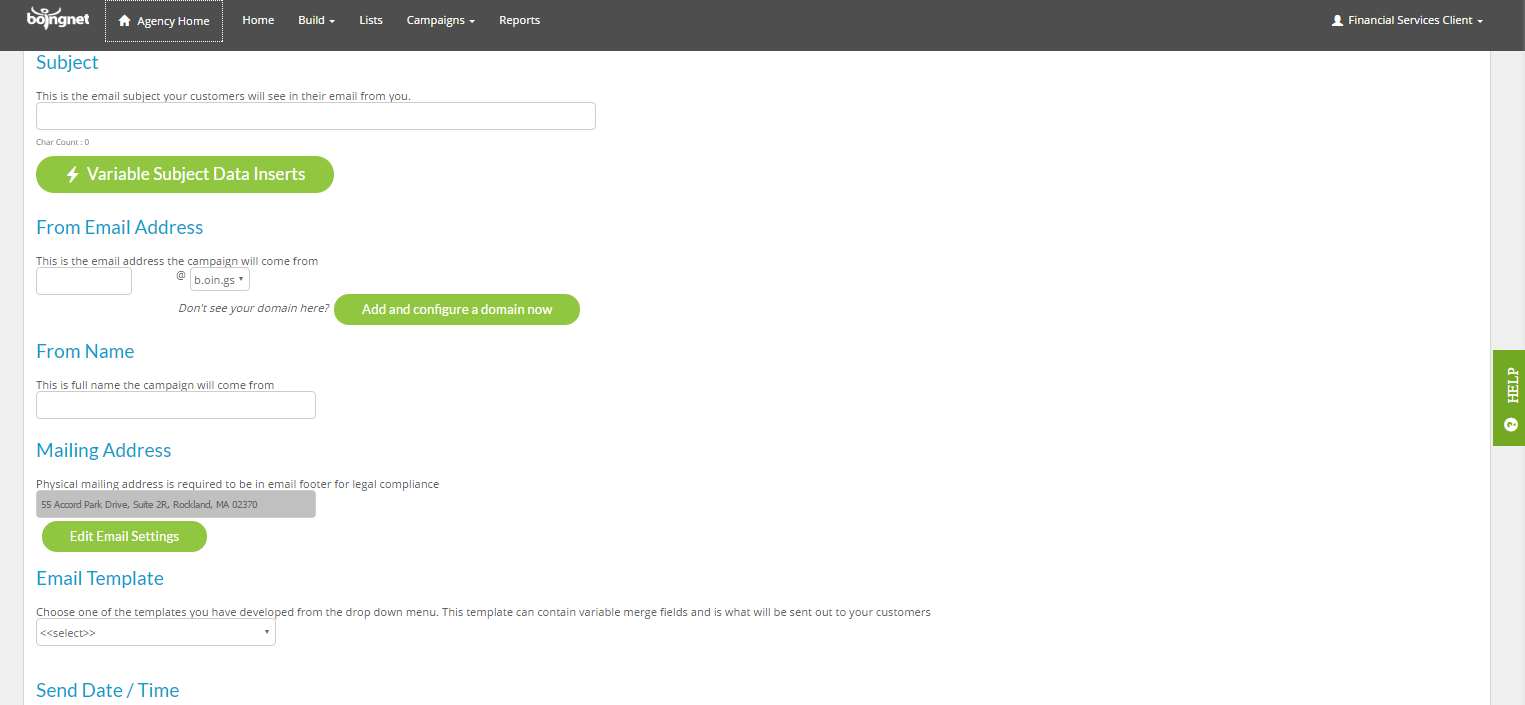
Subject: Enter the email subject you want your customers to see here.
From Email: This is the email address the campaign will come from. It can be anything @ the domain used for this campaign.
From Name: This is the full company name that the campaign will come from. Do not include commas in your name or some ESPs (Email Service Providers) will truncate your name. For example: Email Company, Inc would become Inc.
Mailing Address: Your company’s physical mailing address will be pulled from your account’s profile – this is required to be in all email footers for legal compliance.
Email Template: Choose your email template from the drop down menu. If you have not already created your email template, visit the following pages to learn more:
Send Date/Time: Choose the date and time for the email blast to be sent.
Sending To: Make sure the correct contact list is displayed here.
- Click Next and you will navigate to the confirmation page.
- On the confirmation page, you will be able to confirm all of your email channel specifications:
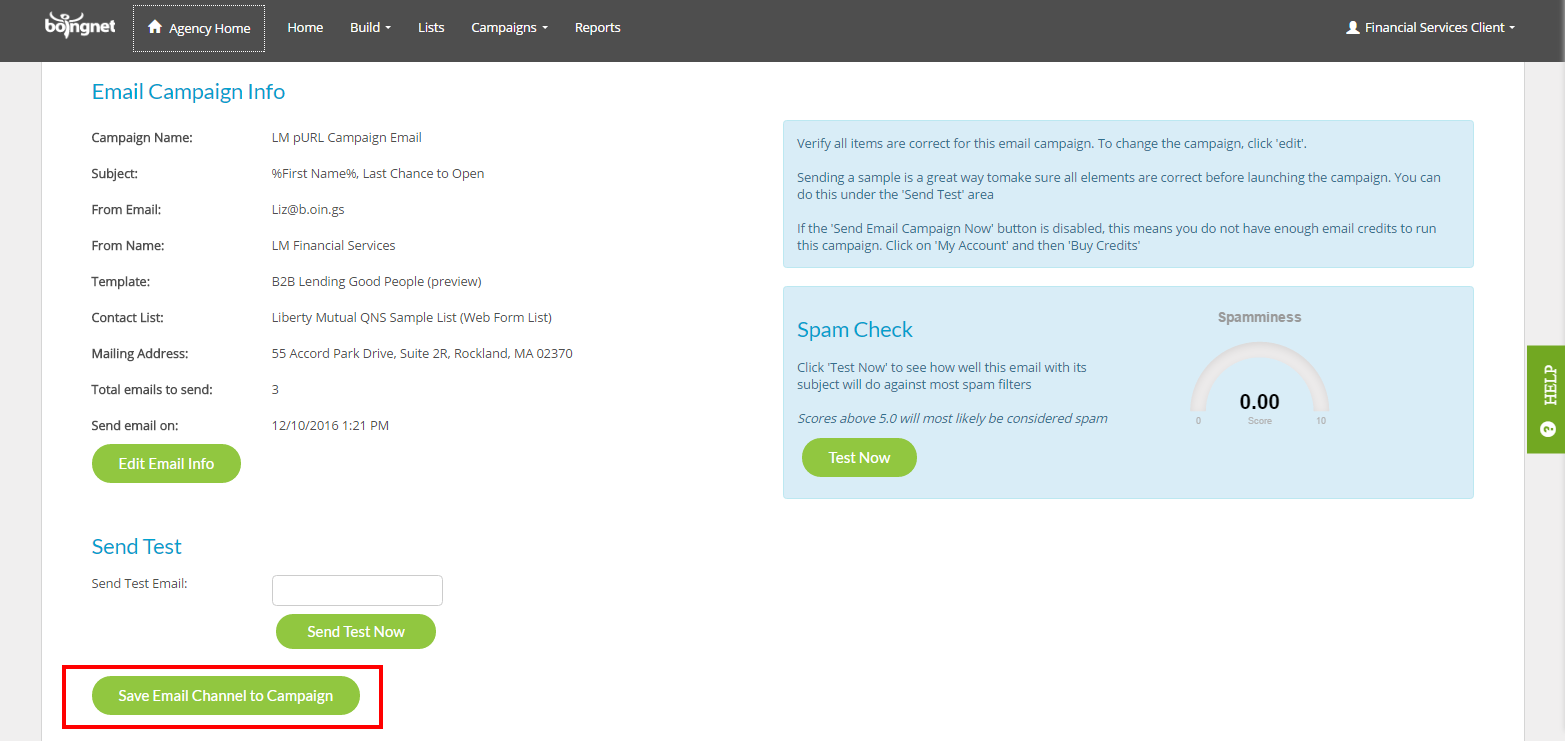
- Once you have confirmed your email channel choices, click Save Email Channel to Campaign. Your email will send on the date and time you specified.
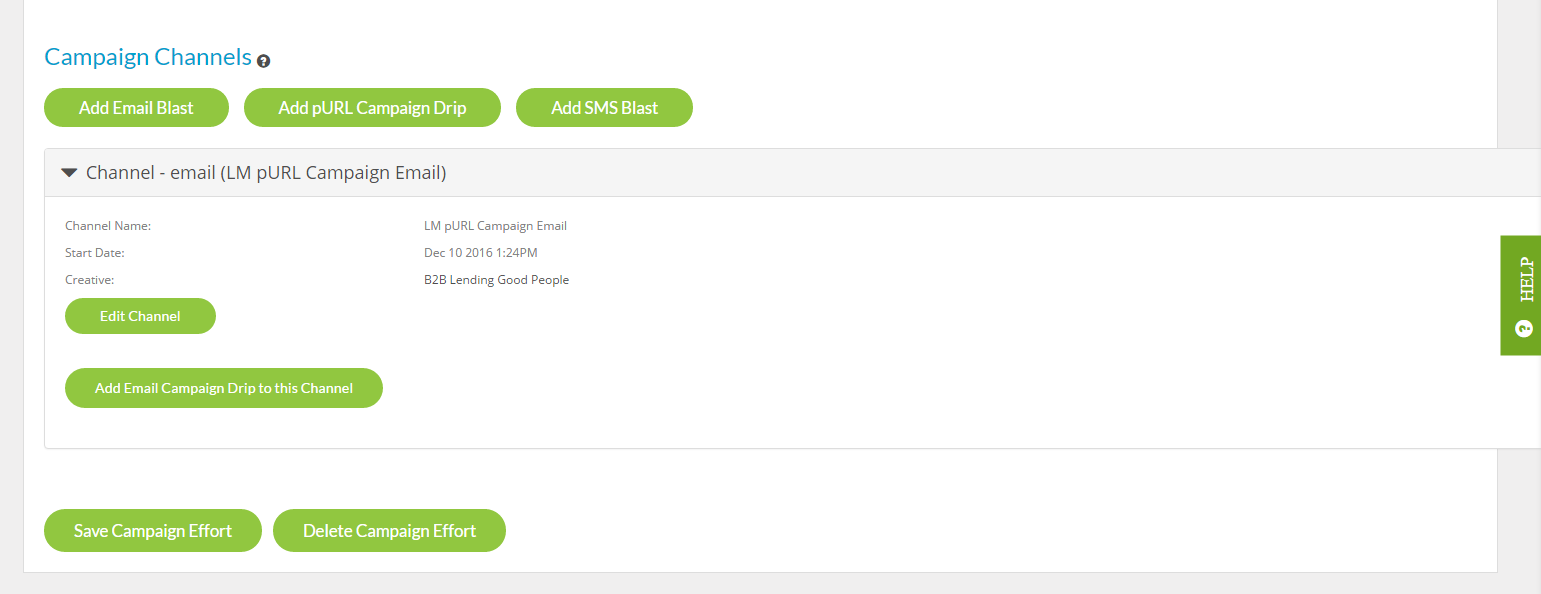
- On the campaign edit page you will now see your campaign channel and have access to edit and add drips to that channel:
Add an SMS Channel
To add an SMS channel begin by clicking the Add SMS button under campaign channels.
- On the Add SMS Channel screen, you will be able to enter all of the necessary information to initiate your SMS campaign including your number, opt-in template, opt-out message, and general campaign message.
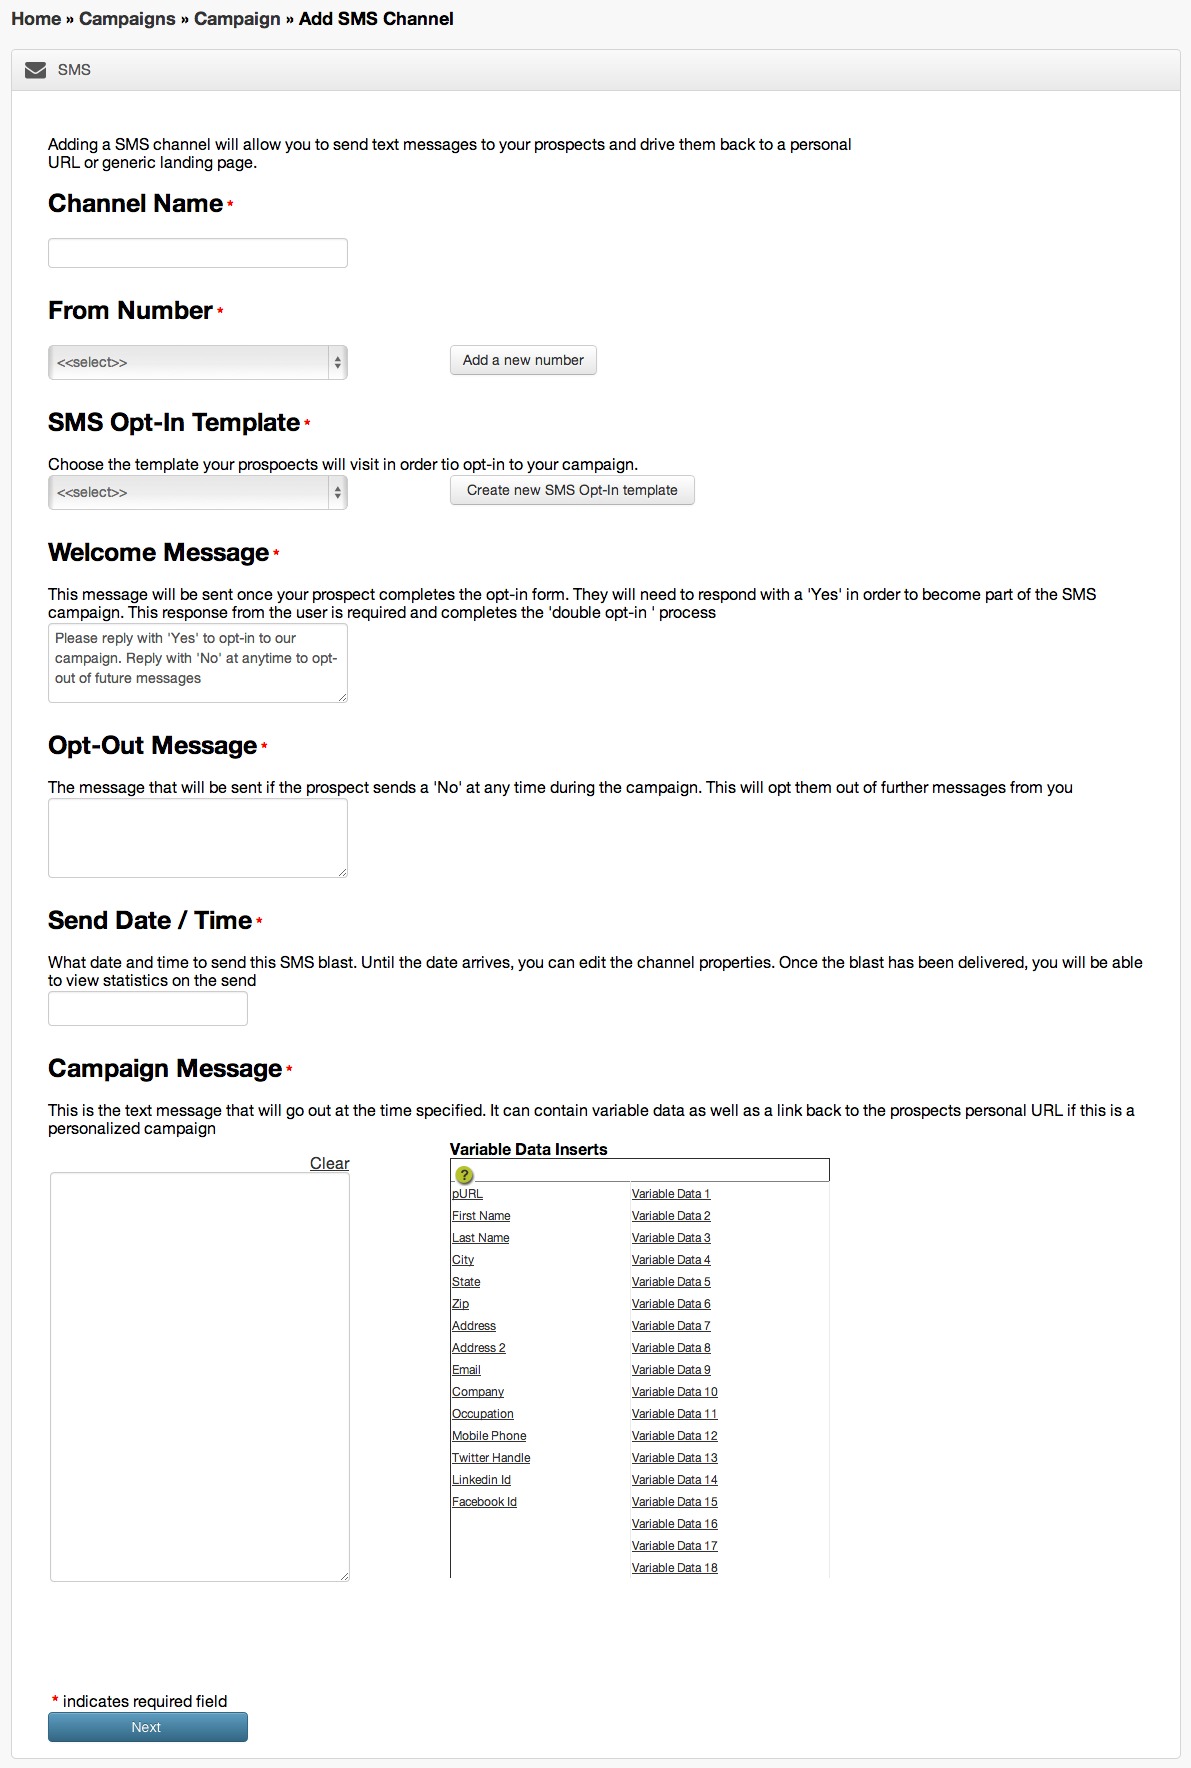
- Click Next and you will navigate to a confirmation page.
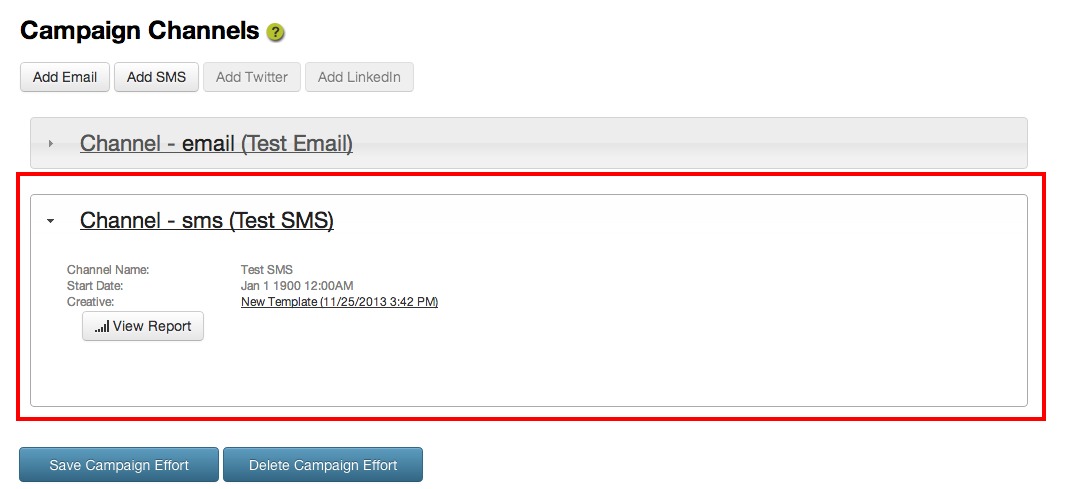
- Save your SMS campaign channel and you will see it with any other channels associated with your campaign.
Contact Our Support Forums for Help
We are perpetually seeking to evolve our product as well as our support process. If you didn't find your answer here take a moment to visit our support forums as well as submit your ideas on how we can bring Boingnet to the next level!
Support Forums