

How to Schedule an Email in Boingnet
Boingnet gives you an ability to schedule email blasts and drip campaigns well into the future, so that you can plan campaigns well in advance. This article reviews how to schedule an email campaign, an email blast as a part of a personalized campaign or as a part of a drip campaign. In order to schedule an email you must first create an email campaign or a personalized campaign that is associated with a contact list. Only after uploading your contact list and creating a campaign will you be able to schedule your email blast or drip campaign.
To schedule an email broadcast for a Personalized / pURL campaign:
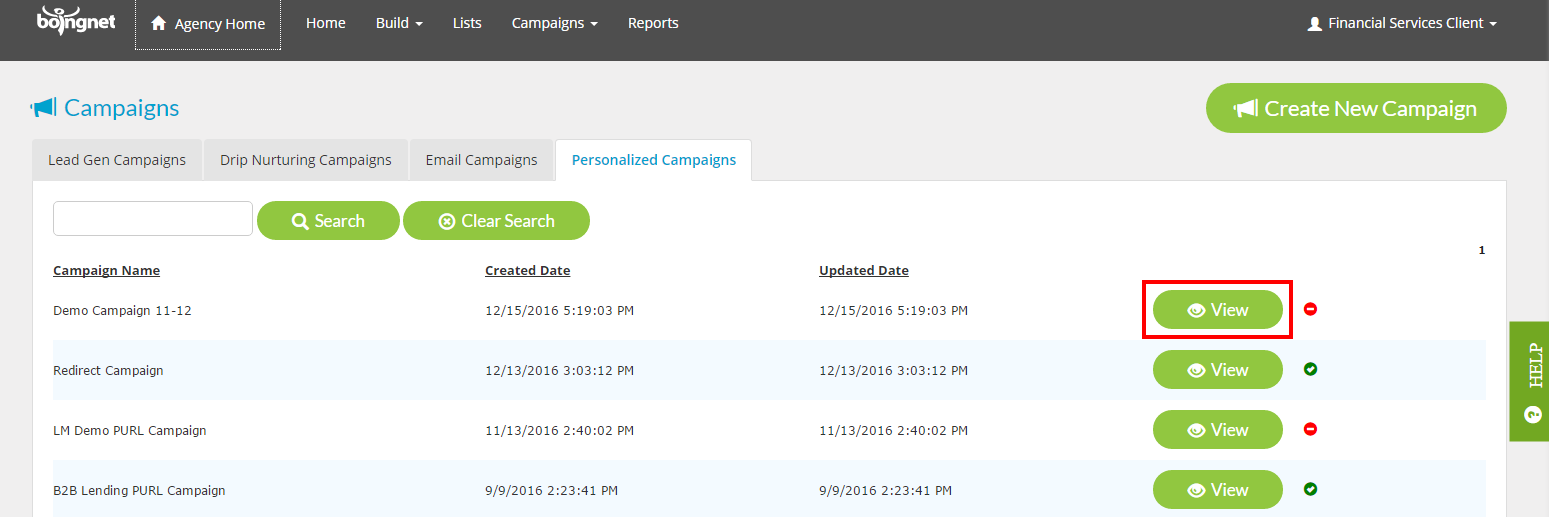
From the main navigation bar, click Campaigns and then select Personalized Campaigns:

Select the Personalized Campaign you’d like to add the email broadcast to by clicking View:
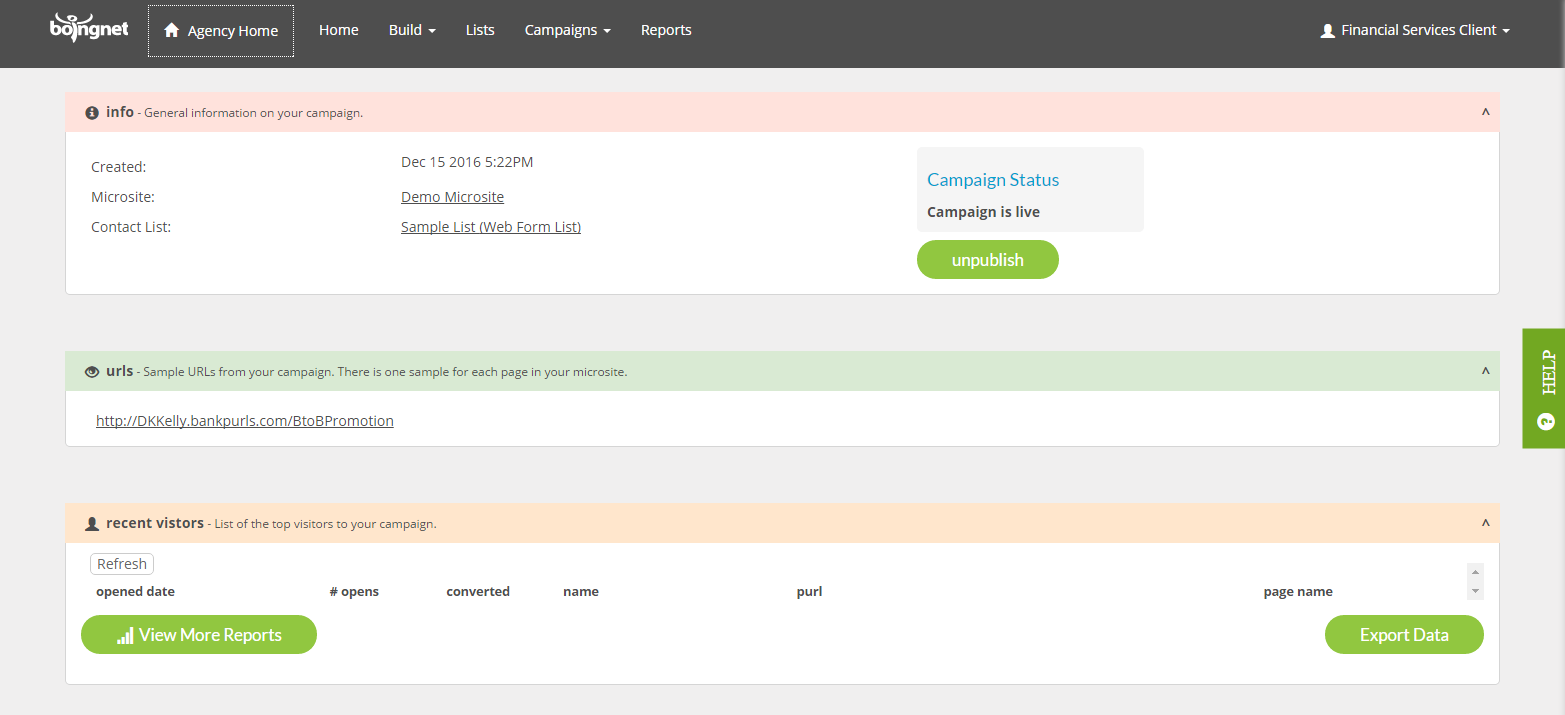
You’ll navigate to the dashboard for this pURL Campaign:
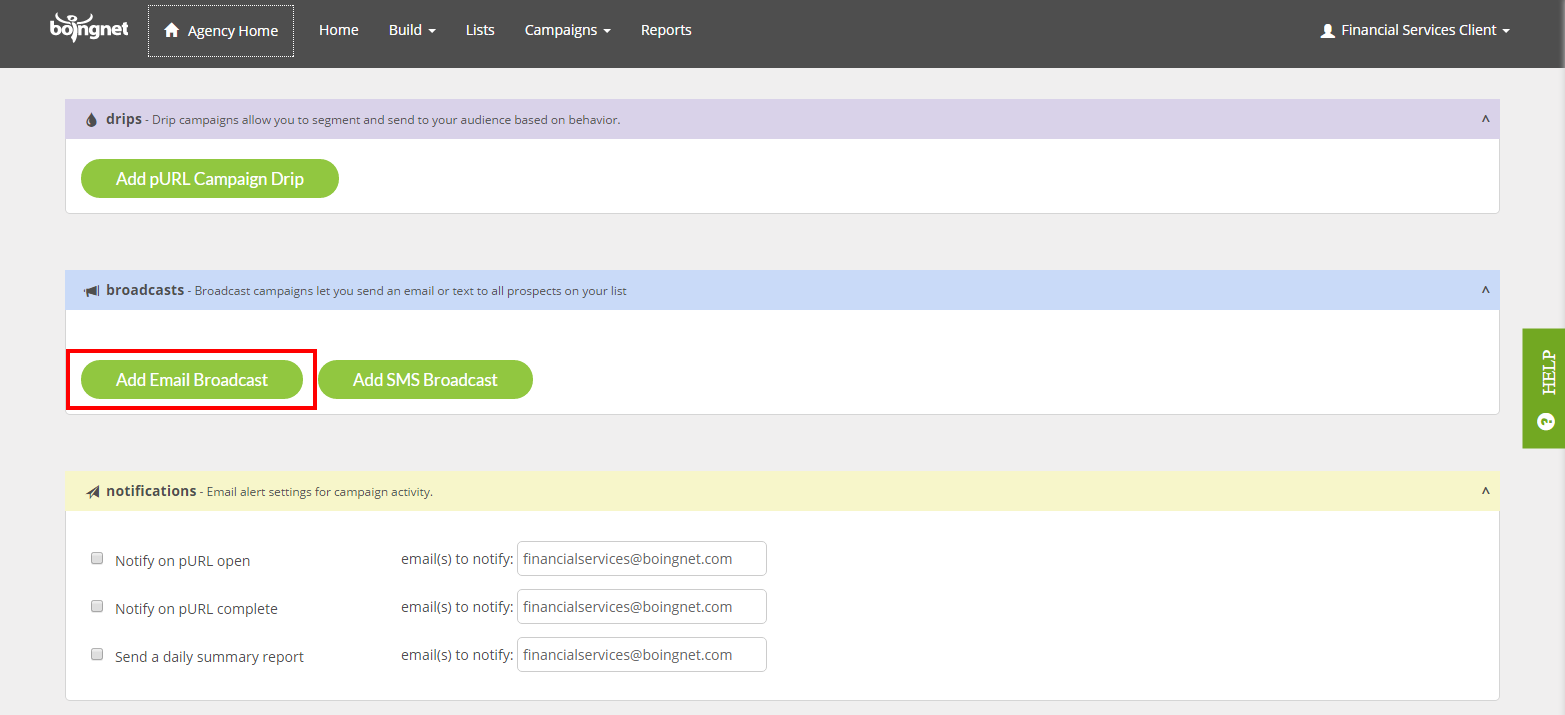
Scroll down to the Broadcasts section and click Add Email Broadcast:
On the Email Broadcast Page, you’ll be able to define your email channel and set the Send Date and Send Time:
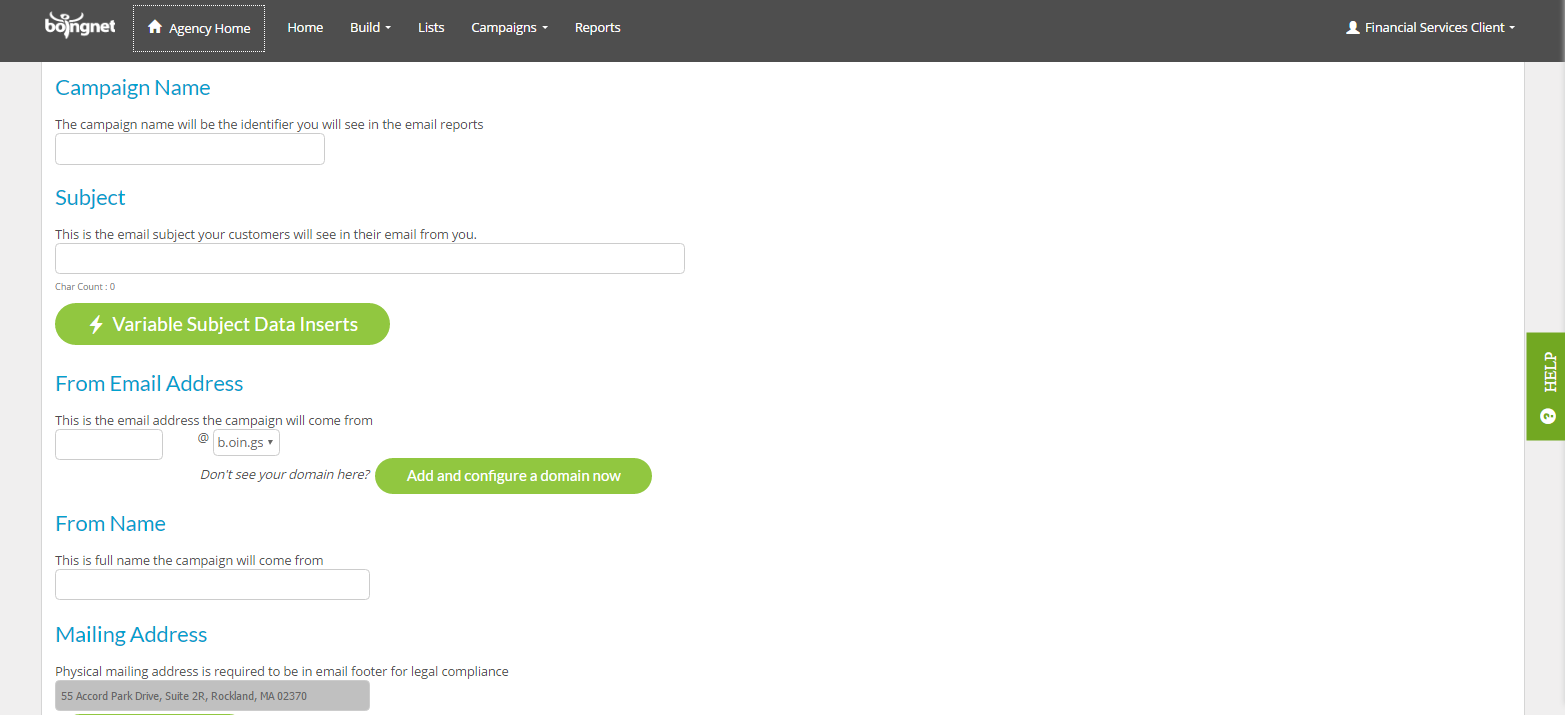
Campaign Name: Enter a name for this email broadcast in the box provided.
Subject: Enter the email subject you want you contacts to see.
From Email: This is the email address the email blast will come from. It can be anything @ the domain used for this campaign.
From Name: This is the full company name that the campaign will come from. Do not include commas in your name or some ESPs (Email Service Providers) will truncate your name.
Mailing Address: Your company’s physical mailing address will be pulled from your account’s profile – this is required on all email footers for legal compliance.
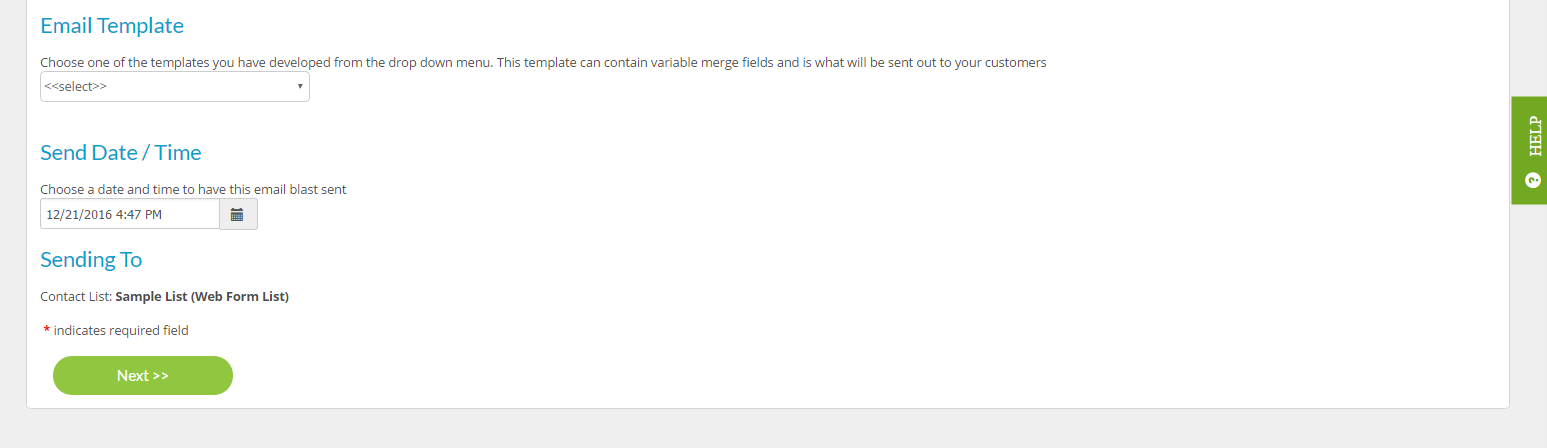
Email Template: Choose your email template from the drop down menu.
Send Date / Time: Choose the date and time for the email blast to be sent. Note that all times are Eastern Standard Time.
Sending To: Make sure the correct contact list is displayed here.
Click Next and you will navigate to the confirmation page where you’ll be able to confirm all of your email broadcast specifications:
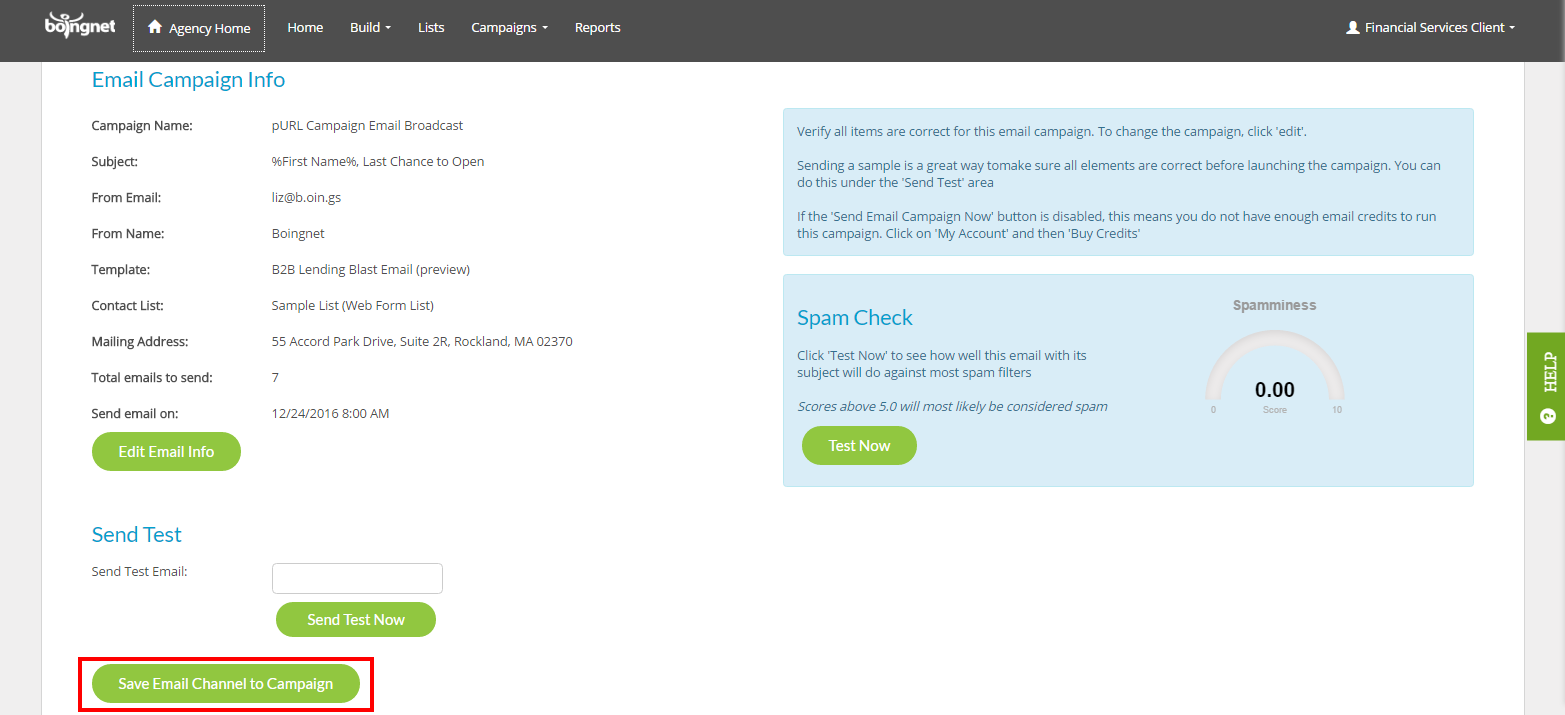
Confirm that all the information that you have entered is correct and then click Save Email Channel to Campaign. Your email broadcast send on the Date and Time you entered.
To schedule an Email Campaign without pURLs:
For information on scheduling an Email Campaign without Personalized landing pages, visit Create an Email Campaign.
Contact Our Support Forums for Help
We are perpetually seeking to evolve our product as well as our support process. If you didn't find your answer here take a moment to visit our support forums as well as submit your ideas on how we can bring Boingnet to the next level!
Support Forums