

Boingnet allows you to import contacts directly from several popular CRM systems – including MailChimp, Salesforce.com (Contacts) and HubSpot. If you have a MailChimp account and you’d like to import your contacts so you can create some Boingnet campaigns, then follow the steps outlined below:
To Import a List from your MailChimp account:
First, obtain an API Key from your MailChimp account. The API Key will allow you to import your MailChimp lists into your Boingnet Account. If you already have your API Key, skip to Import a List from MailChimp:
To get an API key, login to your MailChimp account and click your profile name to expand the Account Panel and choose Account:

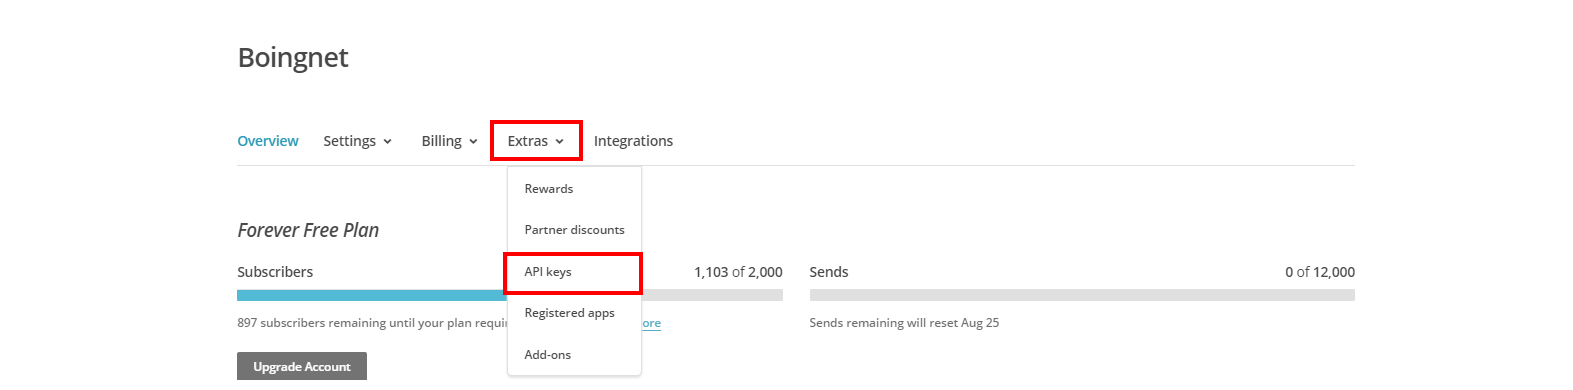
Click the Extras tab and choose API Keys:
Click the Create a Key button:

In a new tab, logon to your Boingnet Account.
Next, Import a list from MailChimp:
- From the Home Page, or main navigation bar, click Lists to go to the Contact Lists Page.
- Click on Create New Contact List in the upper right corner.
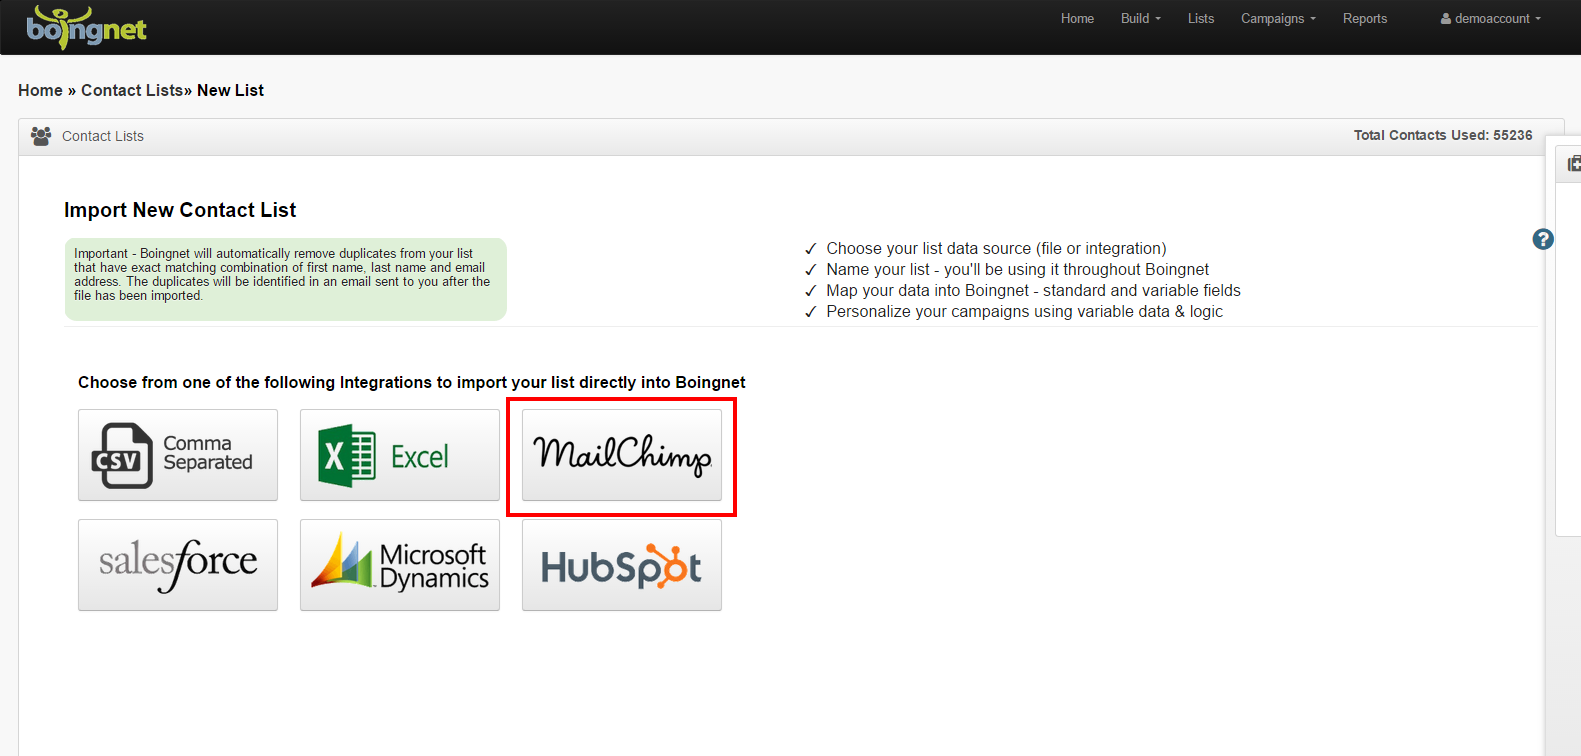
- You will navigate to the following page:

Click on the MailChimp button:
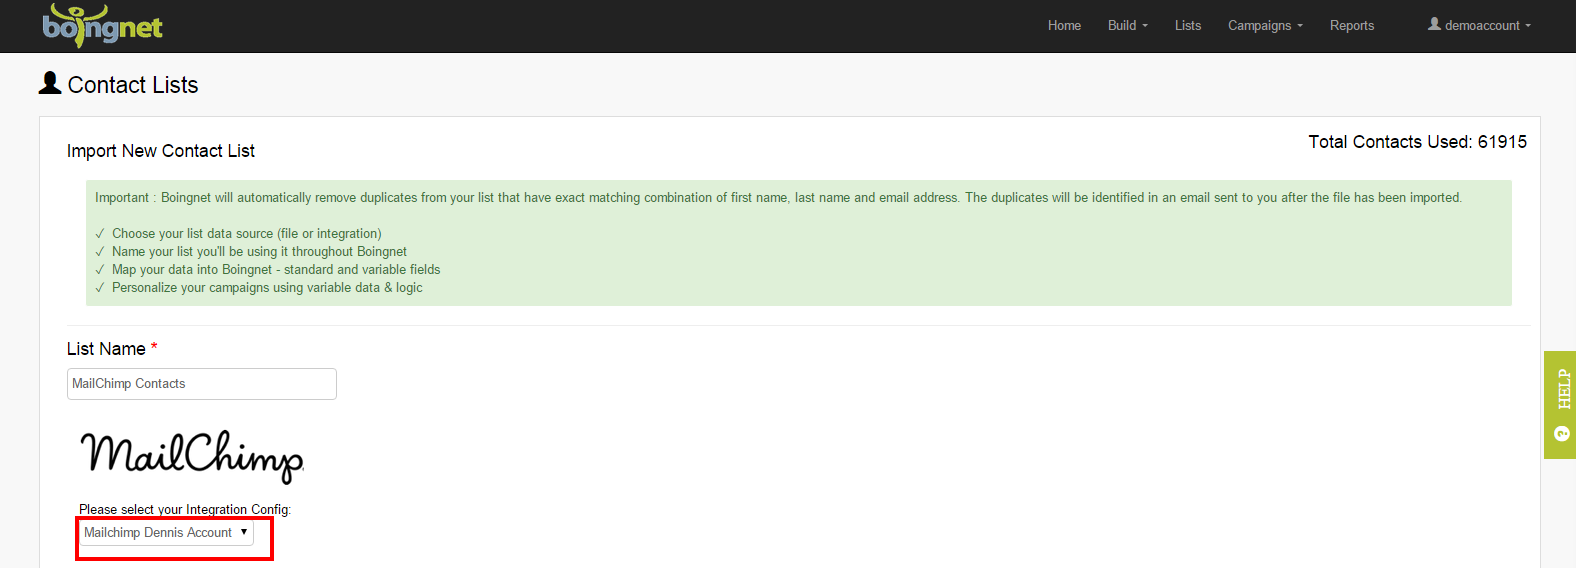
You’ll navigate to the following page:
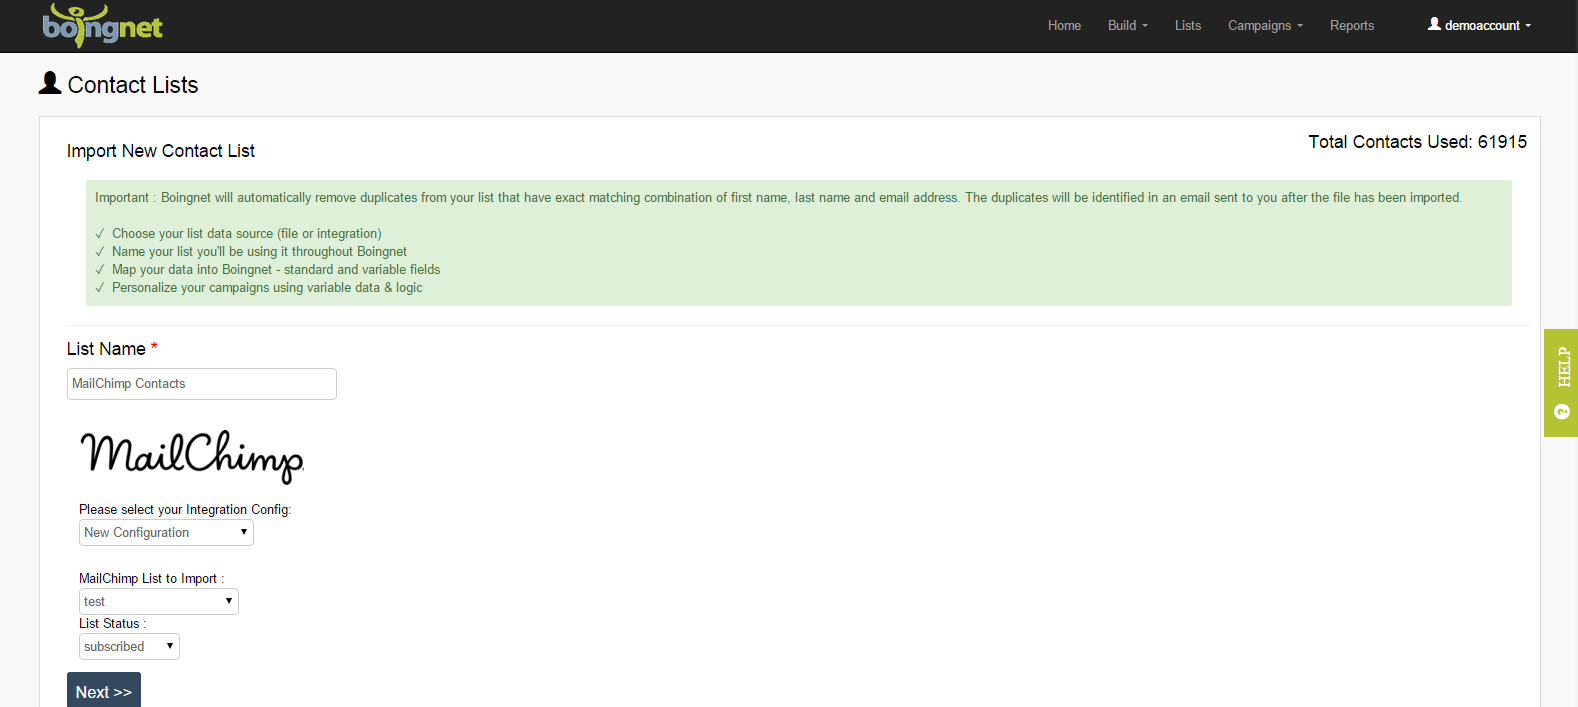
Under List Name, enter a name for your Contact List. In the example above, we’ve used MailChimp Contacts.
If this is the first time set time setting up a plugin for MailChimp, Select New Configuration under Please select your Integration Config:
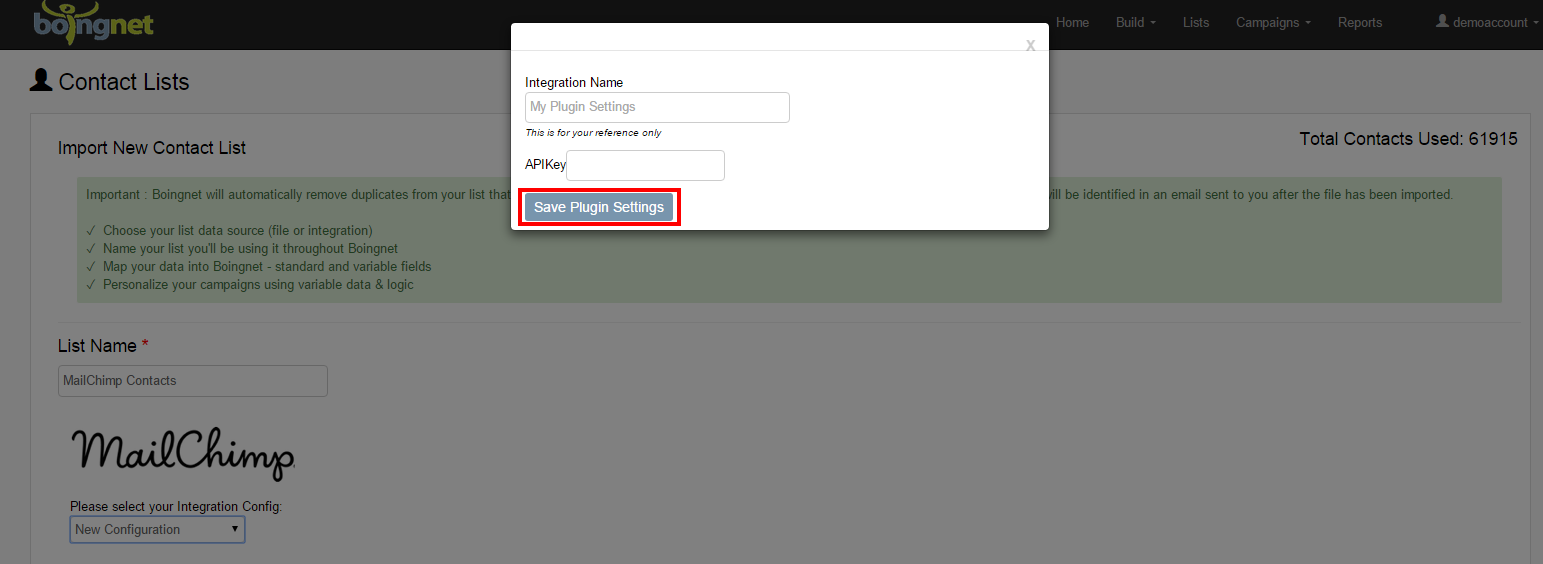
A pop-up box will appear to create a new plugin.
- Enter an Integration Name.
- Copy the API Key that you just obtained from your MailChimp account above.
- Click Save Plugin Settings.
If you already have a MailChimp plugin setup then select it from the drop down list:
Next,
- Select the MailChimp List to import from the drop down list.
- Under List Status, choose the status of the records on your MailChimp List to import:
- Subscribed OR
- Unsubscribed OR
- Cleaned
In the example below, we’ve selected all records from Customer List 34 with a subscribed status:
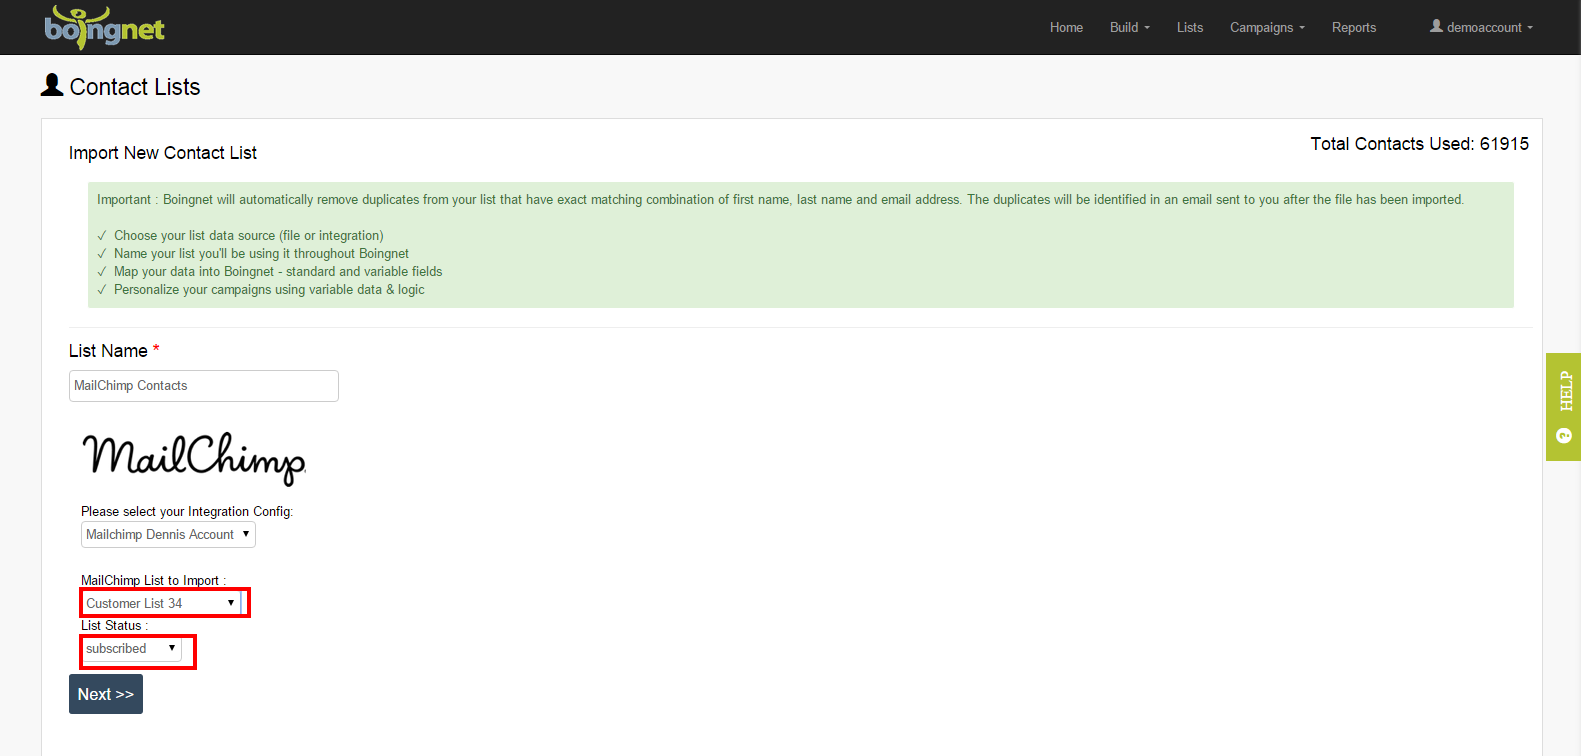
Click Next to continue to the Mapping Page.
The Mapping Page will allow you to map all the data from your MailChimp file to the list that Boingnet will create. You will see all the fields from your input file appear in the drop down menus:
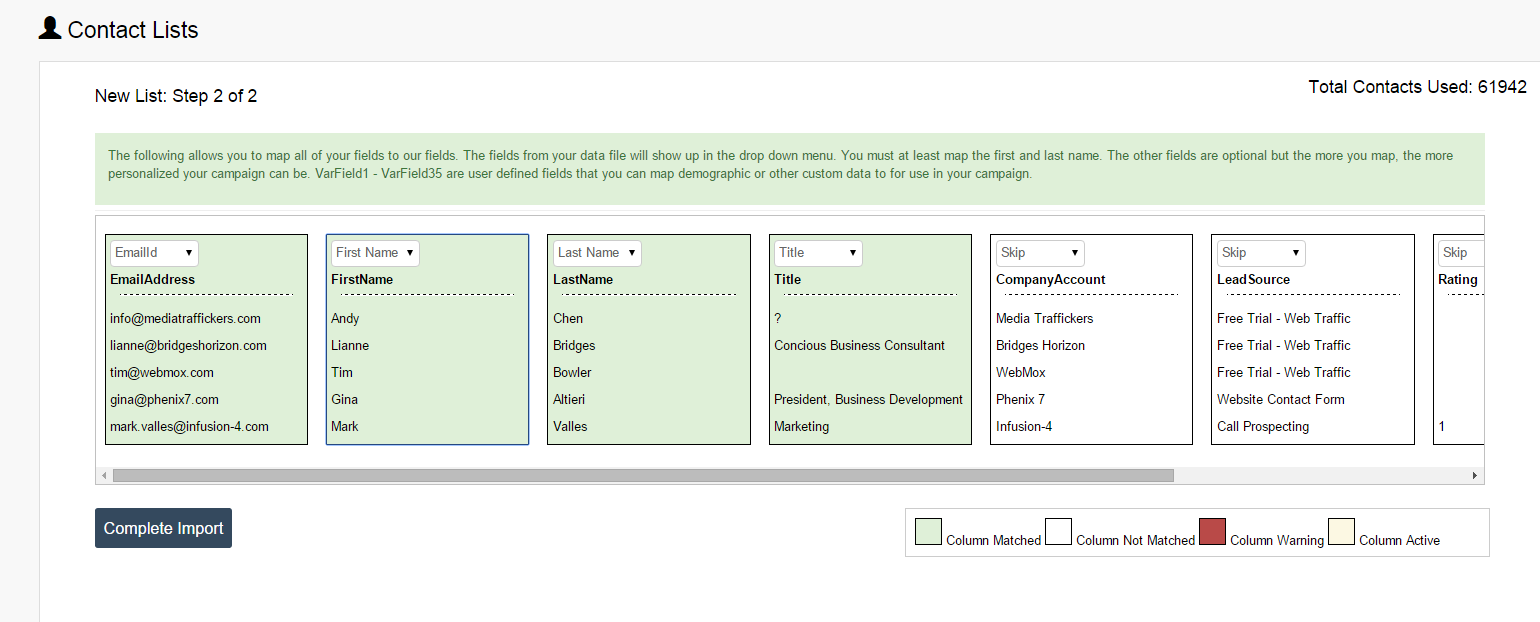
Boingnet will attempt to match your MailChimp fields with fields on your Boingnet Contact List. Fields highlighted in green have been already been mapped for you. In the example above, Email, First Name, Last Name and Title have been mapped.
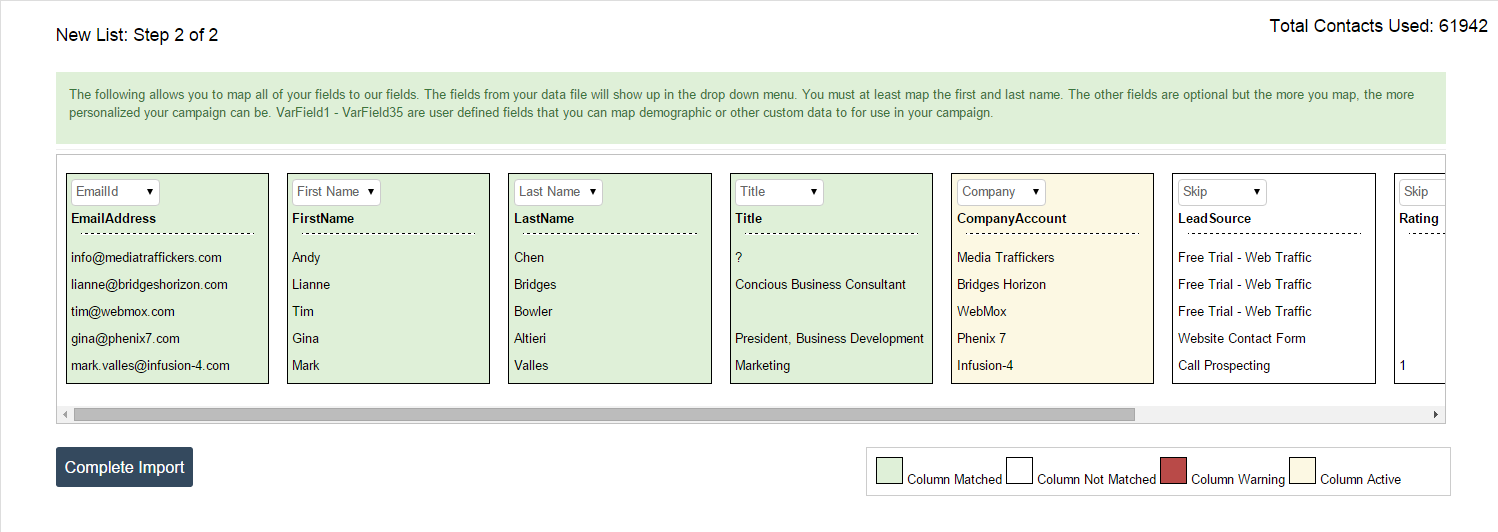
Fields shown in white – such as Company Account have not been mapped, you may map these fields to a Boingnet field by clicking on the drop-down menu and selecting a field. In the example below, we’ve mapped Company Account to Company by selecting Company from the drop-down menu:
Continue to map your other fields – remember that the more fields you map, the more personalized your campaigns using this list can become. If you’ll be using this list to send email or SMS messages, make sure you map email address and mobile phone.
If the drop-down list that appears underneath a field doesn’t contain a similar field to map to, then choose one of the Variable Data Fields instead. For example, if your input file contains a field for Gender, you may map that to one of the Variable Data Fields that appears at the bottom of the menu.
You can also choose to ‘skip’ mapping a certain field by selecting Skip from the drop-down list that appears above that field. If you select Skip, this data will NOT be mapped to your list. Remember, there is no way to re-map a contact list once it has been uploaded into Boingnet. We recommend that you map all of your input file data by selecting from one of the 35 Variable Data Fields.
During the mapping process, you can not map more than one field to a Boingnet field. For example, if your input file contains 2 addresses, you must map those address fields to two different Boingnet fields. Boingnet will let you know if you map the same field twice by showing you a red error message.
After mapping all of your fields, click on Complete Import.

Your data will be imported into Boingnet. Depending on the size of your file, this process may take a few minutes. You will receive an email confirmation when your list has successfully uploaded. You can click Go to Contacts Lists Now to check the status of your list.
On the Contacts List Page, you’ll see the status of your list, the list source, number of contacts and date your list was created. To manage your newly uploaded list, click the Action button. From here, you’ll be able to do the following:
- Edit your list
- Download your list
- Append records with the same layout to your list
- Clean your list to prepare it for email campaigns
- Delete your list

Contact Our Support Forums for Help
We are perpetually seeking to evolve our product as well as our support process. If you didn't find your answer here take a moment to visit our support forums as well as submit your ideas on how we can bring Boingnet to the next level!
Support Forums